How To Remove a 3D Print Safely?
Removing a 3D printed part from the build plate is one of the final and most important steps in the 3D printing workflow. While it may appear straightforward, improper removal can lead to cracked parts, warped bases, damaged surface finishes, or even permanent damage to the build plate itself.
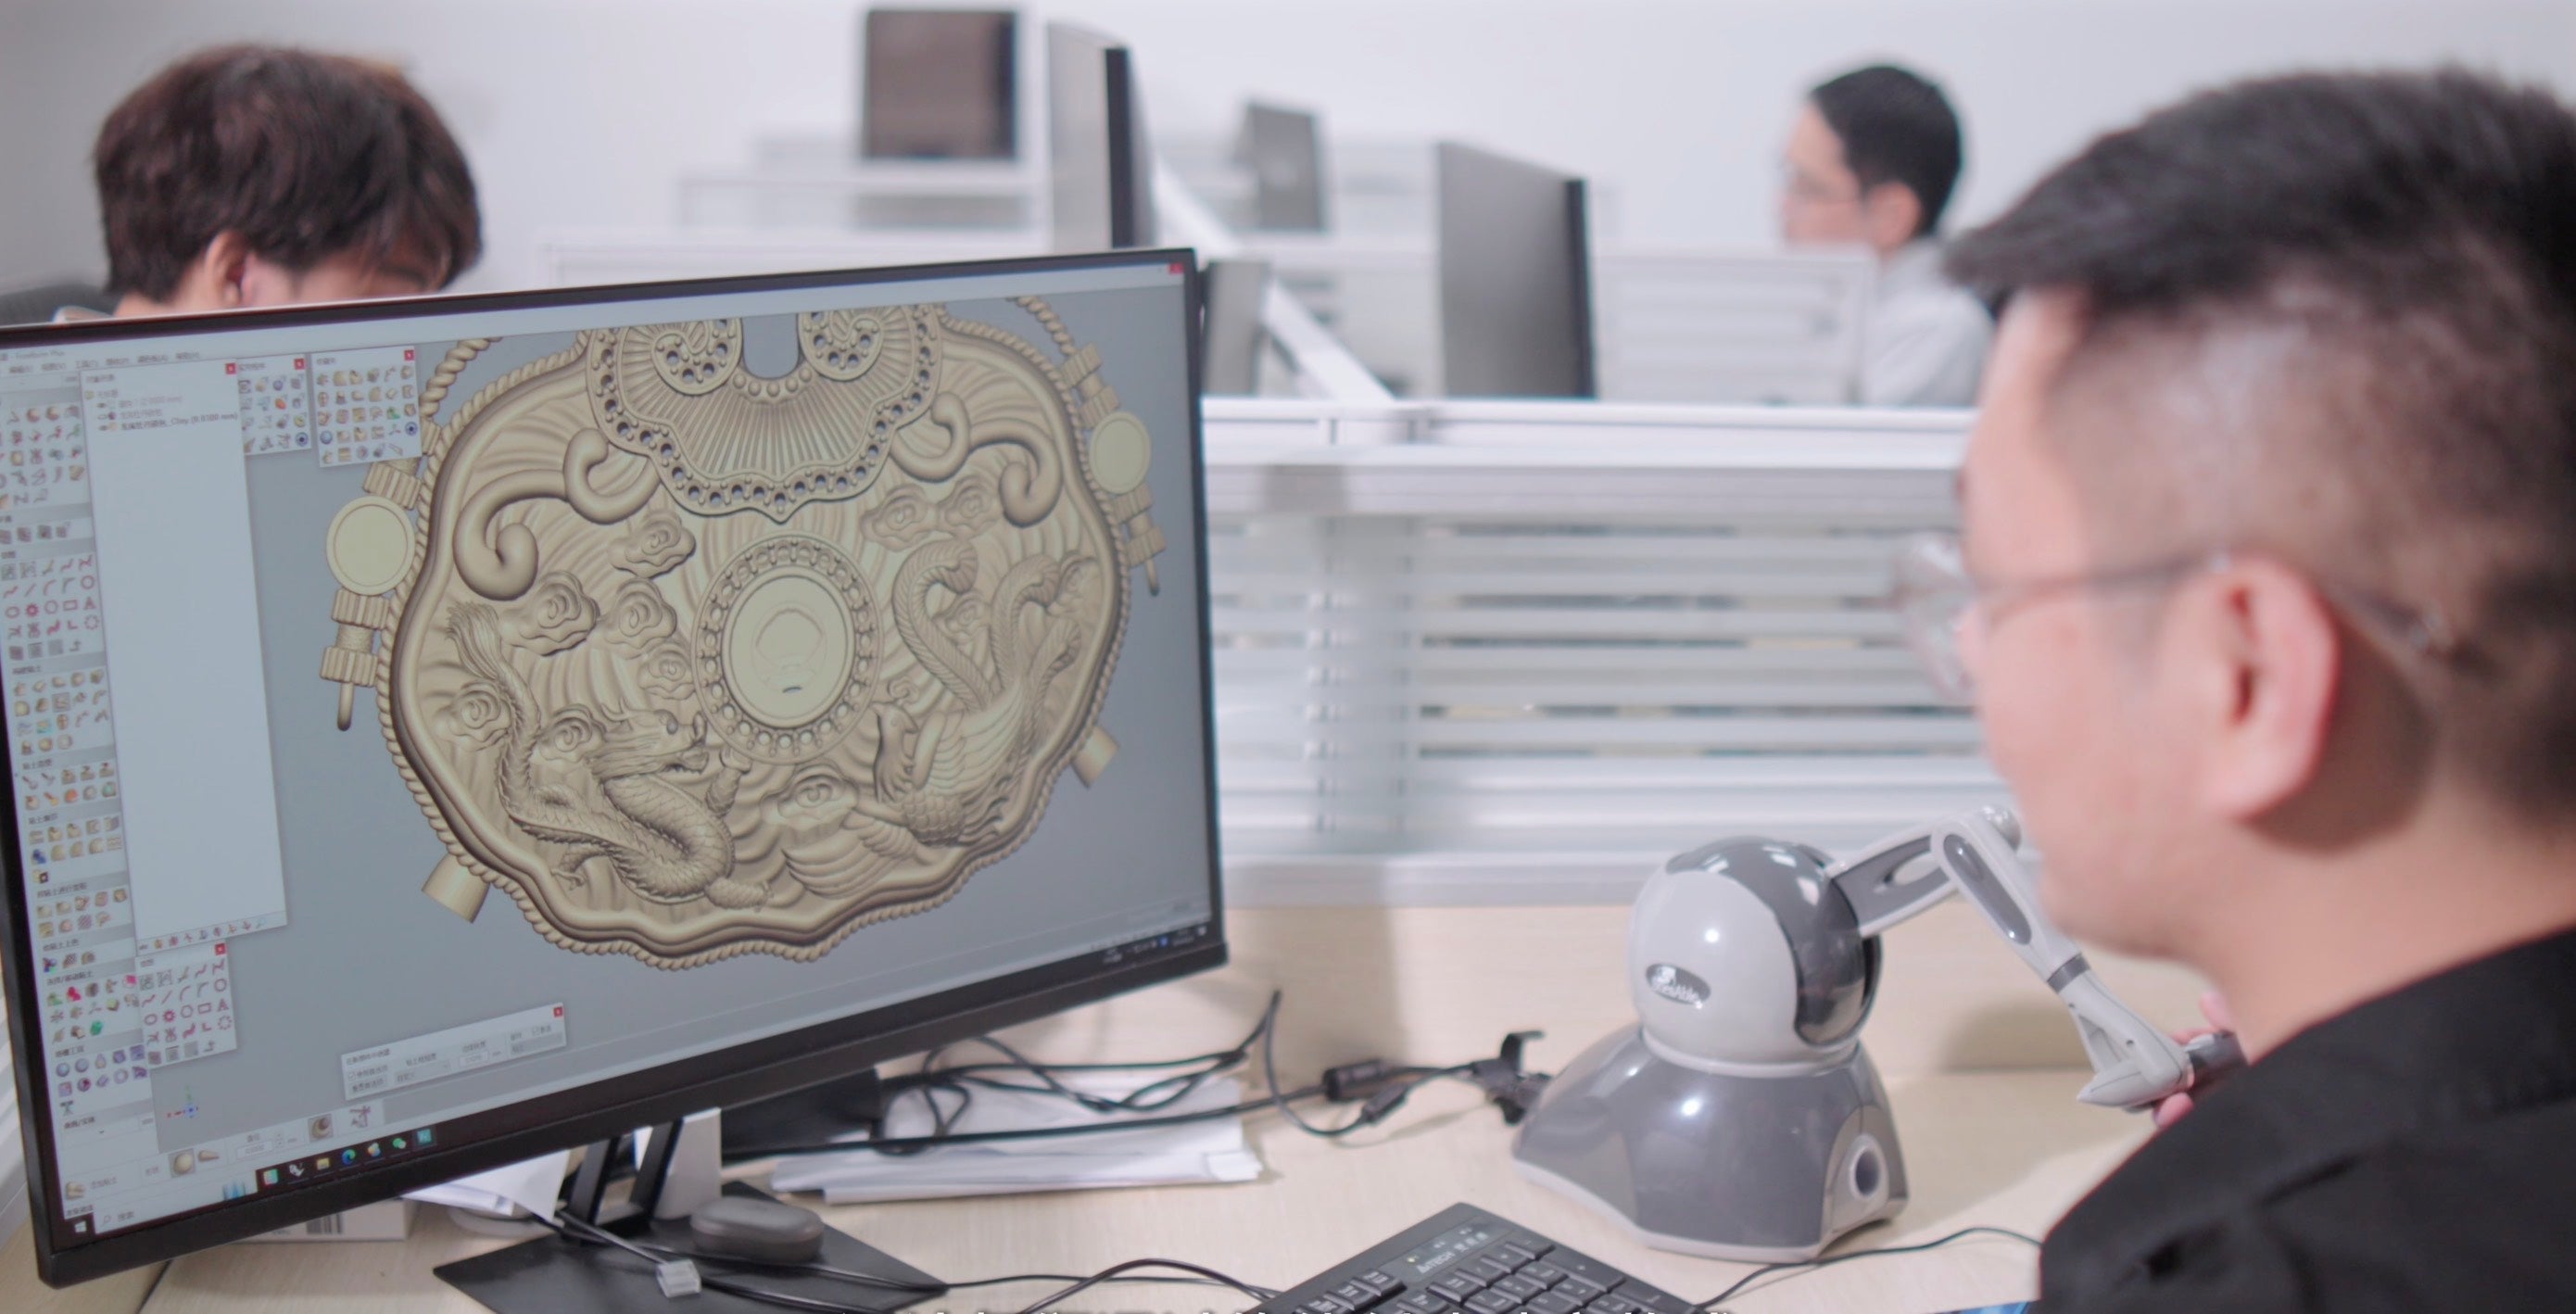
The correct way to remove a 3D print depends on the printing technology, the material, and the adhesion mechanism used during the printing process. This article explains how to remove a 3D print safely and efficiently, based on professional 3D printing engineering practices.
1. Why 3D Print Removal Methods Depend on Printing Technology
Different 3D printing technologies rely on fundamentally different physical principles to create and hold parts during printing. These principles directly affect how the printed part adheres to the build plate and how it should be removed afterward.
Some of the most common 3D printing technologies include:
-
FDM (Fused Deposition Modeling) 3D Printing
Uses thermoplastic filaments such as PLA, PETG, and ABS. Adhesion is achieved primarily through heat and surface contact. -
WaxJet 3D Printing
Uses molten wax deposited onto a metal build plate. Adhesion relies on rapid cooling and solidification. -
DLP (Digital Light Processing) 3D Printing
Uses liquid photopolymer resin cured by projected light, creating strong mechanical adhesion to the build plate.
Because each technology uses a different adhesion mechanism, there is no universal method for removing a 3D printed part. Using the wrong removal technique can easily result in print damage at the final stage.
2. How to Remove a 3D Print from an FDM Printer (PLA, PETG, ABS)
Understanding Build Plate Adhesion in FDM Printing
In FDM 3D printing, the build plate is intentionally heated to improve first-layer adhesion and prevent warping. Typical build plate temperatures include:
- PLA: 50–60°C
- PETG: 70–85°C
- ABS: 90–110°C
At these temperatures, the molten filament softens slightly and bonds effectively to the build surface, such as PEI sheets or glass. This creates strong adhesion during printing, but that adhesion is highly temperature-dependent.

Step-by-Step: Safely Removing an FDM 3D Print
Once printing is complete, the most important step is patience.
-
Allow the build plate to cool completely
As the plate cools to room temperature, the filament and build surface contract at different rates, naturally reducing adhesion. -
Check for natural release
In many cases, especially with PLA, the print will loosen or detach on its own. -
Use gentle force if needed
If the print remains attached, gently lift it by hand or use a scraper to slide under one edge with controlled pressure.
Never attempt to force a part off a hot build plate. Allowing proper cooling often eliminates the need for tools and prevents damage to both the print and the printer.
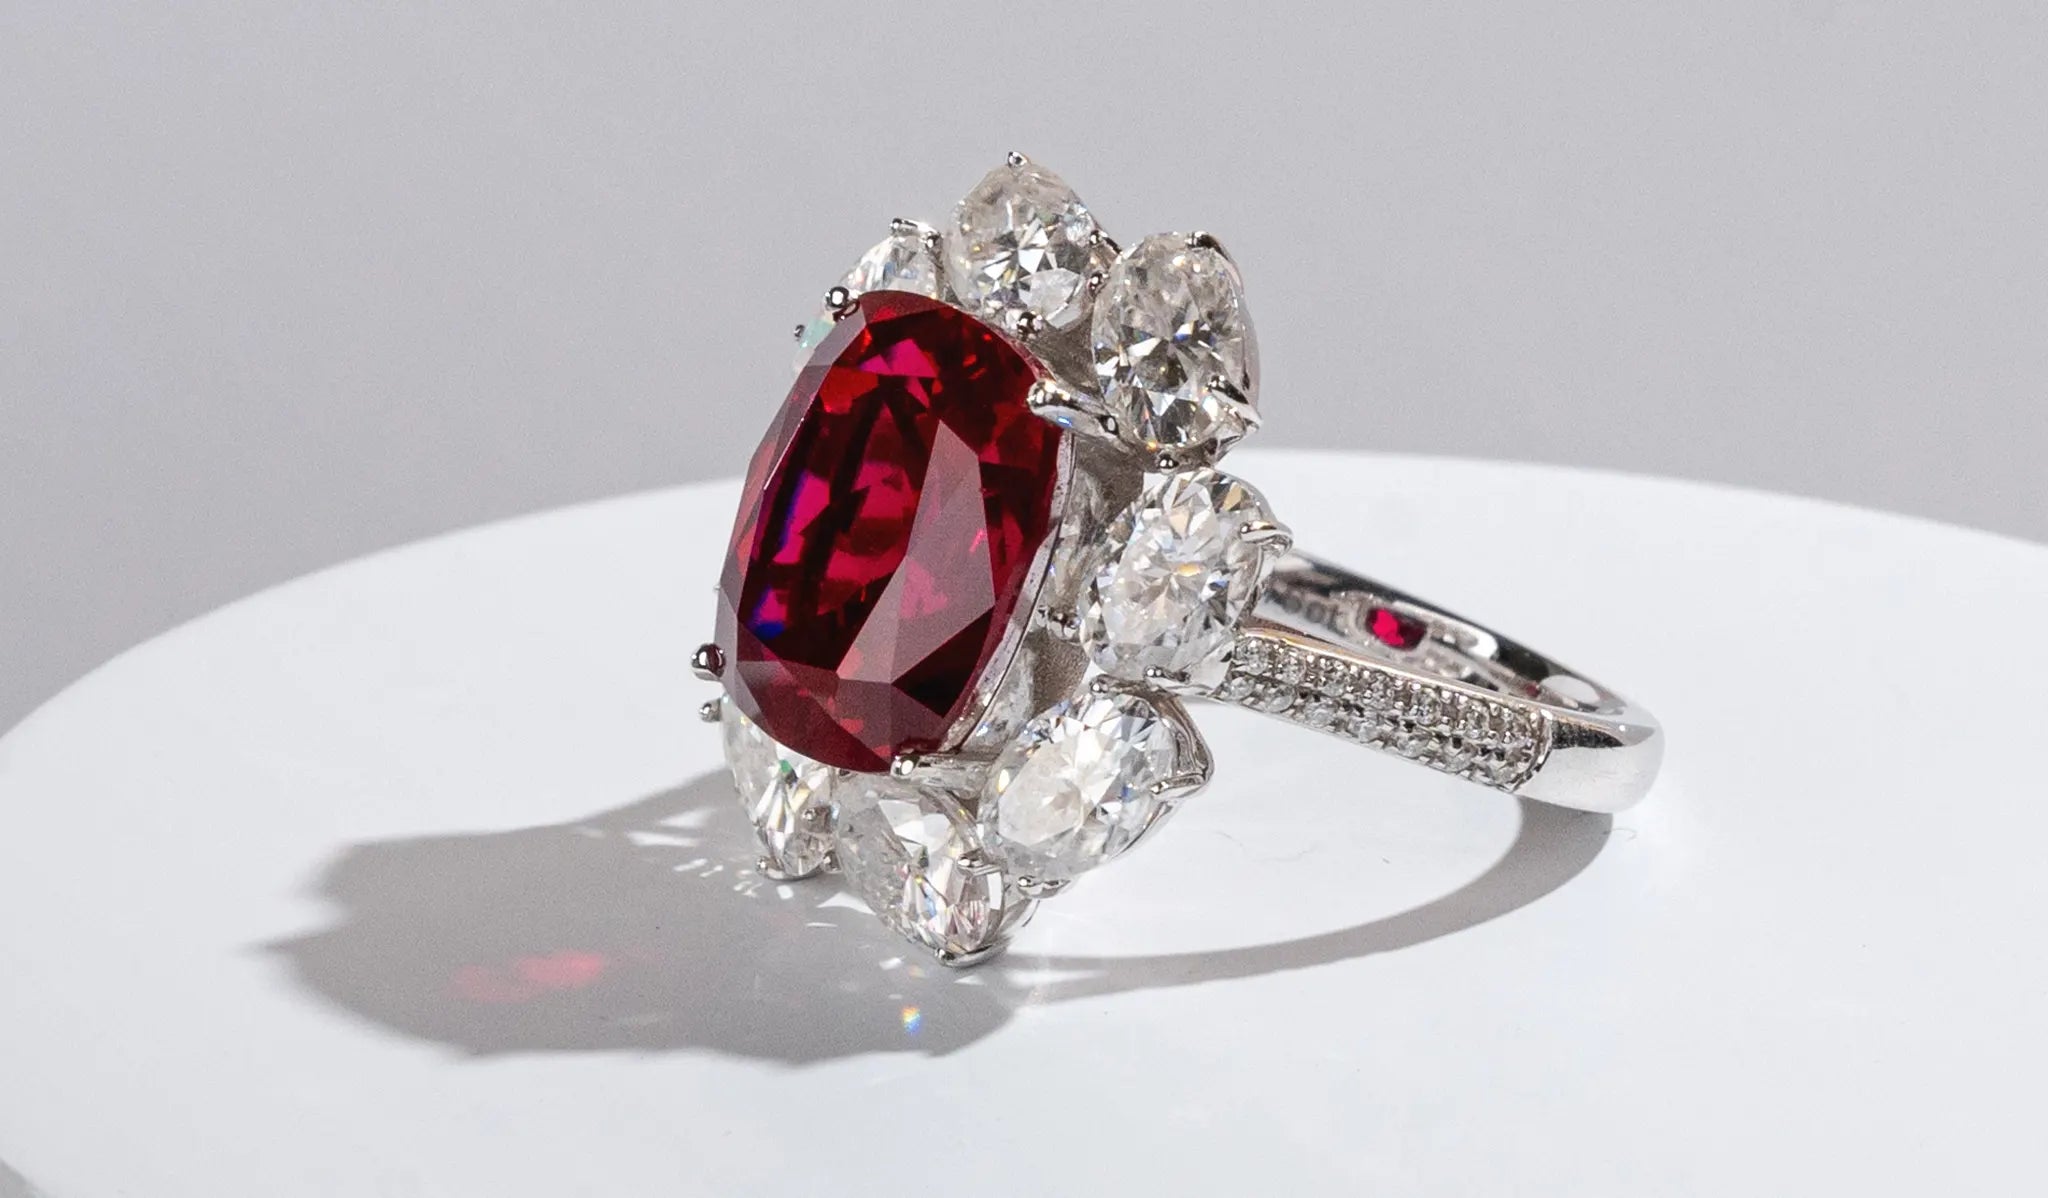
3. How to Remove Wax 3D Printed Molds (Jewelry Wax Printing)
Why Wax Prints Require a Different Removal Method
Wax 3D printing is commonly used for jewelry and investment casting applications. Wax materials typically have a melting point of around 50°C, which is far lower than standard FDM thermoplastics.
Because of this low melting temperature, wax printers usually do not heat the metal build plate. Molten wax solidifies rapidly upon contact with the cooler platform, ensuring dimensional accuracy while allowing controlled removal.

Method 1: Gentle Heating (Most Common)
This is the most reliable and widely used method for removing wax 3D printed molds:
- Remove the build plate with the completed wax model from the printer
- Place the plate onto a heating plate or warm surface
- Apply mild heat until the wax at the base begins to soften
- Lift the wax model off the platform with minimal force
This approach preserves fine jewelry details and minimizes the risk of damaging delicate wax structures.

Method 2: Cooling-Based Separation (Less Common)
An alternative approach uses thermal contraction:
- Place the build plate on ice or a cold surface
- The wax contracts faster than the metal plate
- The wax mold separates naturally
Caution should be used with this method, as excessive cooling can cause wax models to crack or become brittle.
4. How to Remove a DLP Resin 3D Print from the Build Plate
Resin Adhesion Characteristics in DLP Printing
DLP 3D printing uses liquid photopolymer resin cured by projected light. To ensure print stability, the cured resin adheres very strongly to the build plate, making removal more mechanically demanding.
Proper Method for Removing DLP Resin Prints
- Remove the build plate from the printer after printing
- Use a dedicated resin scraper or spatula
- Insert the scraper at a low angle under the base of the print
- Apply steady, even pressure until the print releases
Always wear gloves when handling resin prints and avoid sudden prying motions, which may crack fragile resin parts.
Conclusion: Choose the Right Removal Method for Your 3D Print
So, how do you remove a 3D print correctly? The answer depends entirely on the printing technology and material used.
- FDM prints should be removed after the build plate cools
- Wax prints are best removed using controlled heating or careful cooling
- DLP resin prints require steady scraper-based removal
By understanding the engineering principles behind build plate adhesion, you can safely remove your 3D prints while protecting both your printed parts and your equipment.