Jewelry Electroforming: From 3D Printed Models to Metal Masterpieces
What is electroformed jewelry? Electroforming, also known as electroplating, is a process that uses electrochemical reactions to deposit a thin layer of metal onto the surface of a conductive or non-conductive object. In jewelry manufacturing, this technique plays an essential role in enhancing both the look and durability of a piece. By forming a dense, shiny metal layer, electric forming not only gives jewelry a refined and luxurious appearance but also improves wear resistance and oxidation protection.
In modern jewelry production, electroplating is widely applied — for example, gold-plating silver pieces, nickel-plating copper bases, or electroforming metal structures from 3D printed wax or resin models. When combined with 3D printing technology, electric forming allows designers to produce complex shapes quickly and precisely, bringing greater creative freedom and higher manufacturing efficiency to the jewelry-making process.

The Principle of 3D Printed Electroformed Jewelry
The 3D printed electric forming process combines high-precision 3D printing with traditional electroplating and electroforming techniques. The core idea is to first create a detailed resin or wax model using MJP (MultiJet Printing) or DLP (Digital Light Processing) technology. A conductive coating is then applied to the model’s surface, making it electrically active. Through electrochemical reactions, metal ions are gradually deposited layer by layer onto the surface, forming a smooth, dense metallic shell.
After multiple plating and finishing steps, the result is a metal jewelry piece that is lightweight yet highly detailed. In this process, the 3D printed model serves as the “master mold,” defining the final shape and fine details, while the metal coating provides strength, luster, and the authentic feel of metal. In electroforming applications, the internal model can be removed after the metal layer is formed, leaving behind a hollow but durable metal structure — light in weight yet rich in texture and precision.
MJP vs. DLP: The Technologies Behind 3D Printed Jewelry Models
The precision and surface quality of the printed model directly determine the success of the electric forming process. The two most popular technologies used for jewelry modeling are MJP (MultiJet Printing) and DLP (Digital Light Processing), each with unique advantages.
MJP technology excels in creating ultra-smooth surfaces with minimal layer lines, making it ideal for high-end jewelry models that require seamless finishes. Its wax-based material melts cleanly during post-processing, ensuring no residue remains — a key advantage for producing flawless metal casts or electroformed pieces.
DLP technology, on the other hand, is known for its sharp detail resolution and excellent edge definition. It captures intricate textures, micro-patterns, and hollow structures with precision, making it perfect for custom or artistic jewelry designs. DLP’s photopolymer resins are strong and easy to post-process, allowing for more controlled surface preparation before conductive coating.
In short, MJP is ideal for smooth, polished designs and metal replication processes like casting or electroforming, while DLP suits intricate, highly detailed, and artistic pieces. Designers can select the appropriate printing method based on style, structural needs, and production goals to achieve the best electroplating results.

Complete Process of 3D Printed Electroformed Jewelry
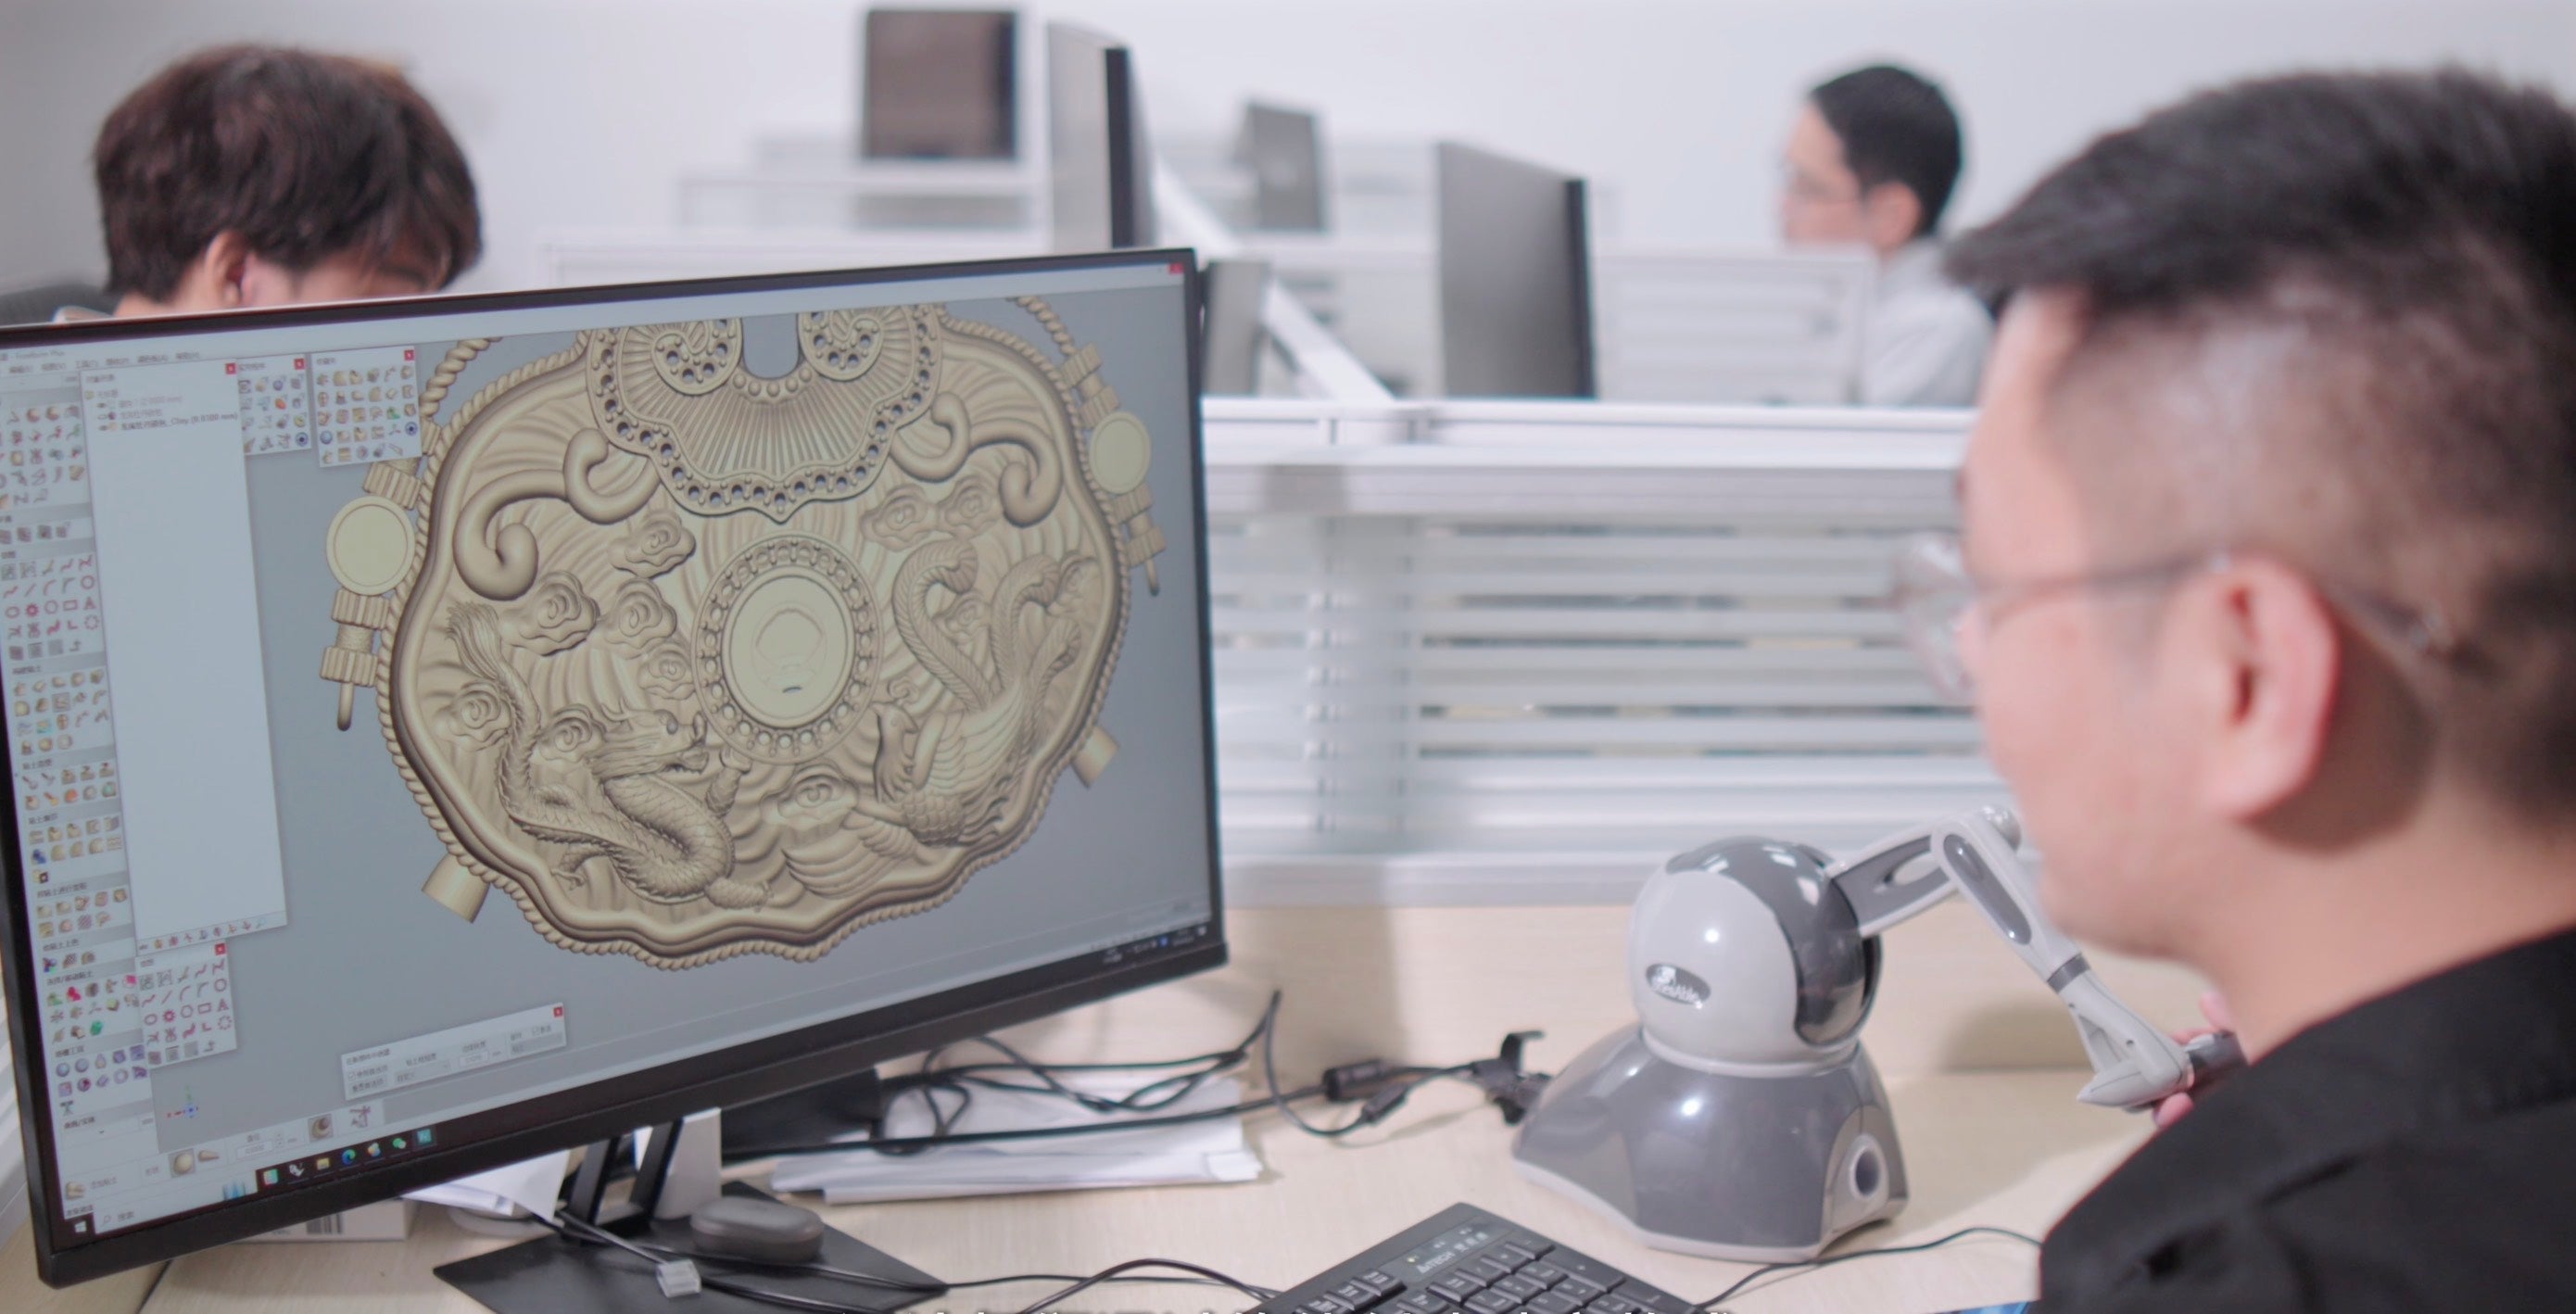
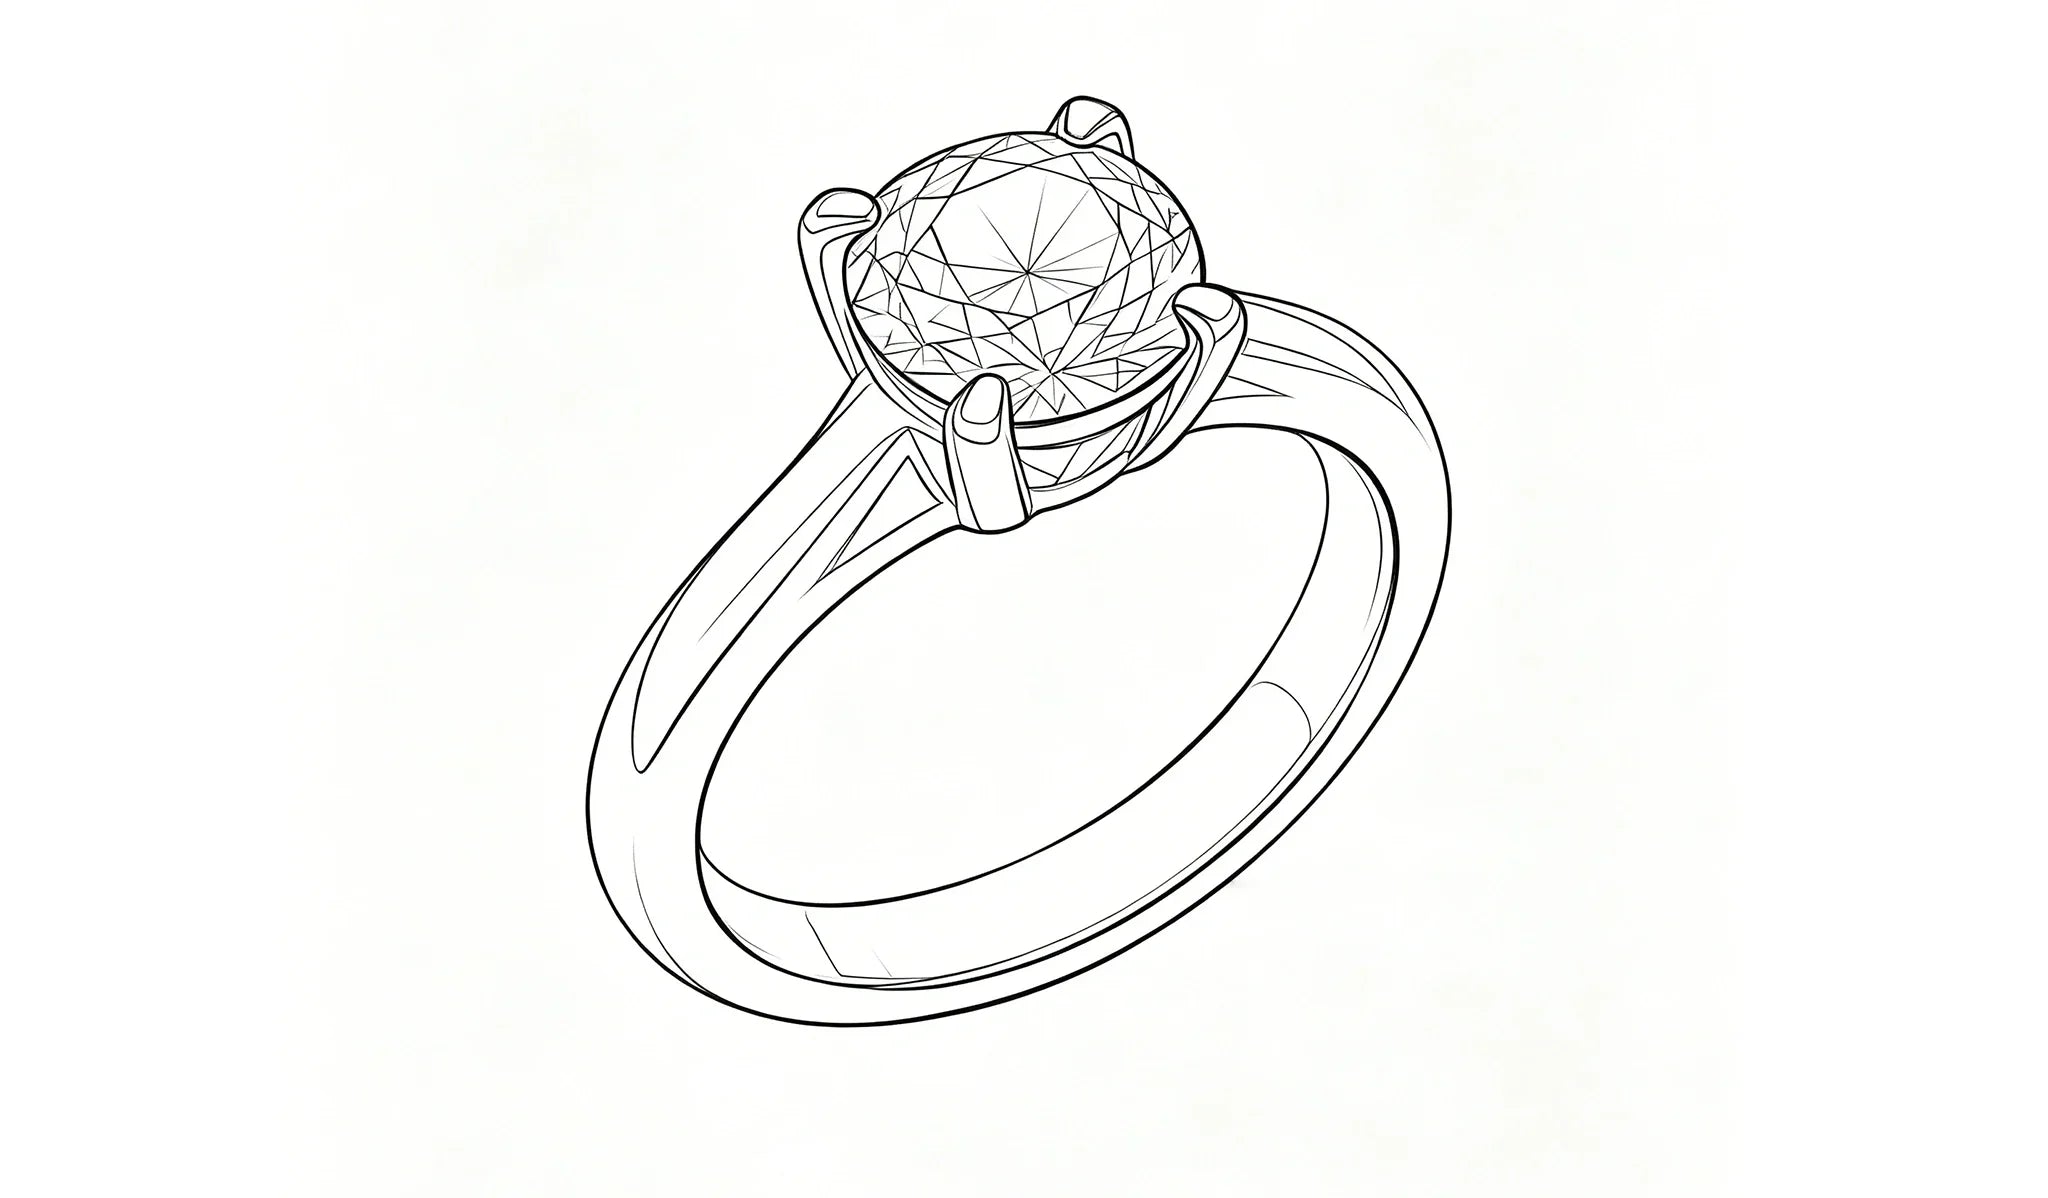
Step 1: Digital Modeling
The process begins with digital jewelry design. Beyond creative aesthetics, structural manufacturability must also be considered. Designers should maintain a minimum wall thickness of 0.3 mm to prevent deformation or uneven metal deposition during electroforming. For hollow or enclosed structures, wax or air escape holes should be incorporated to assist with mold removal later. Sharp corners and dead angles should be minimized to ensure smooth, even metal coverage.
After modeling, the file is exported as an STL, and the mesh is checked for errors such as holes, overlapping faces, or flipped normals. The precision and accuracy of this step have a direct impact on printing success and plating quality.
Step 2: 3D Printing the Model
Once the design is finalized, it’s time to print the model:
- MJP (MultiJet Printing):
Produces smooth, wax-based models with layer thicknesses of 16–32 microns. These models require minimal post-processing and can move directly into electroplating.
- DLP (Digital Light Processing):
Offers high-resolution detail for intricate structures such as engravings and filigree. Typical layer thickness is 25–50 microns. DLP models may require slight surface finishing before coating.
After printing, supports are removed and the model is post-cured for strength and stability. MJP models are heated to remove support wax, while DLP models are cleaned with alcohol and UV-cured. The model must be clean, smooth, and free of residues to ensure strong adhesion for the conductive layer.
Step 3: Conductive Surface Coating
Because wax and resin are non-conductive, a conductive coating must be applied before electroplating. The quality of this coating determines how evenly the metal will deposit and how realistic the final texture will appear.
Common conductive materials include:
- Graphite paint – cost-effective, stable conductivity, suitable for copper or nickel plating.
- Silver-based paint – superior conductivity and a smooth finish, ideal for high-end gold or fine jewelry.
- Copper-based paint – strong adhesion and good value, commonly used for intermediate layers.
Before spraying, the model should be fully cleaned and dried to remove dust or oils. The coating should be applied in multiple thin layers to ensure even coverage without obscuring fine details. The final surface resistance should typically fall between 5–50 Ω, verified with a multimeter, to ensure consistent electrical conductivity.
Step 4: Electroplating / Electroforming
This is the core step of the entire process. The conductive model is attached to a plating fixture, connected to the power supply’s negative terminal (cathode), and submerged into an electrolyte bath containing metal ions. Once current flows, metal ions begin to deposit onto the surface, forming a solid, lustrous metal shell.
A standard electroplating sequence may include:
Copper layer (adhesion base) → Nickel layer (reinforcement) → Silver or Gold layer (decorative finish)
Each layer serves a specific purpose — copper ensures strong adhesion, nickel enhances hardness and durability, and gold or silver adds the final aesthetic shine. By carefully adjusting current density, voltage, temperature, and duration, the thickness and smoothness of the metal layer can be precisely controlled.
Typical decorative electroplating thickness ranges from 5–20 µm, while electroformed structures may require 300–500 µm to create an independent, freestanding metal shell. Once the desired thickness is achieved, the model is rinsed and prepared for mold removal or post-processing.

Step 5: Mold Removal (Electroforming Only)
In electroforming, the 3D printed model serves only as a temporary core and must be completely removed after the metal shell forms.
- Wax models are melted at 70–90°C and drained away.
- Soluble resin models can be dissolved in solvents such as acetone or alkaline solutions.
- Photopolymer resins can be peeled mechanically or dissolved with special chemicals.
This delicate process must be handled carefully to avoid deforming or damaging the thin metal shell. Once completed, what remains is a lightweight, hollow, yet strong metal structure that retains the intricate details of the original design.
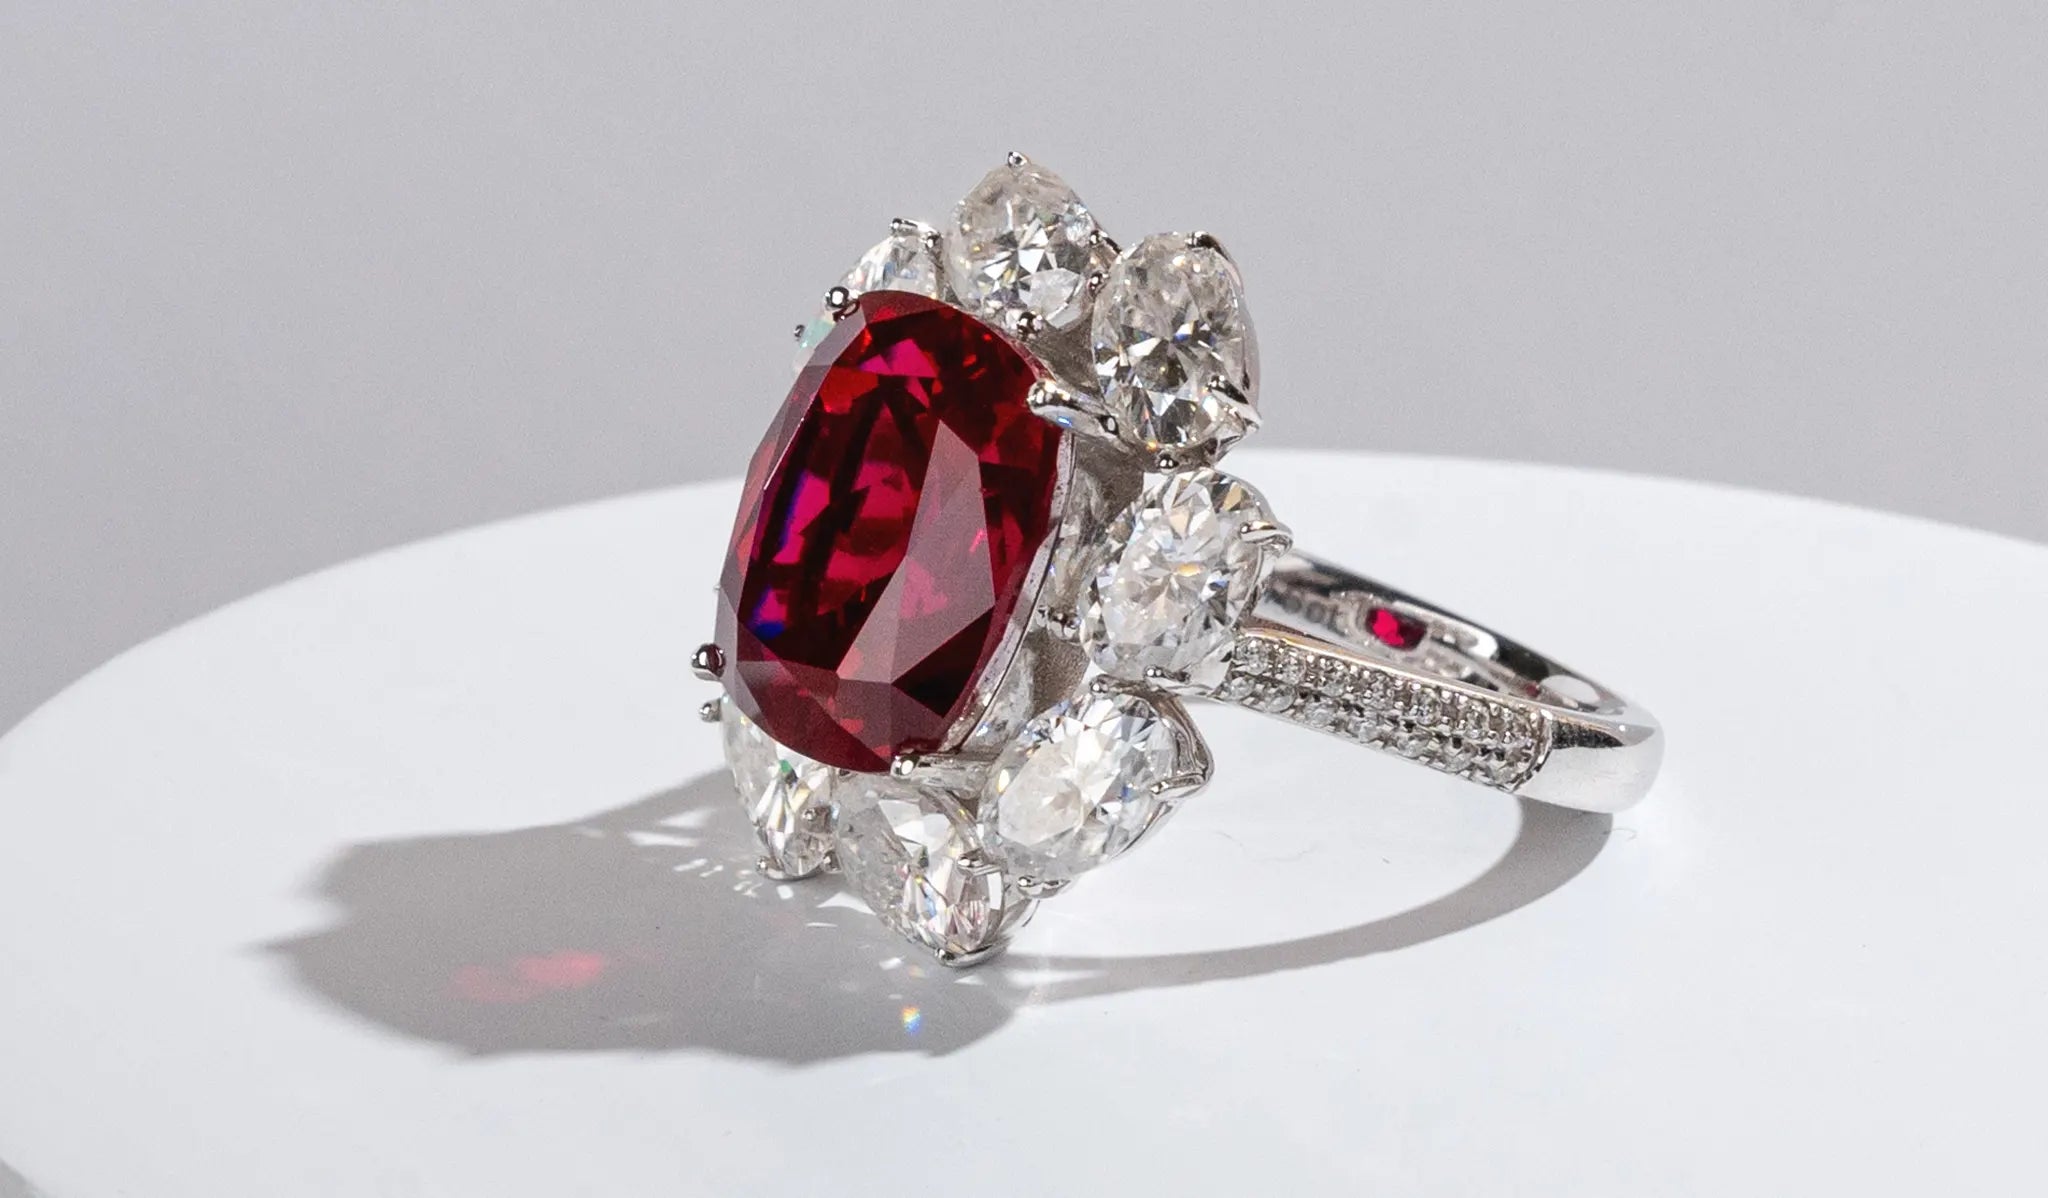
Step 6: Finishing & Polishing
After metal formation, several finishing steps are carried out to achieve jewelry-grade quality:
- Mechanical polishing smooths the surface and removes imperfections.
- Electropolishing enhances mirror-like shine.
- Precious metal coating (gold, silver, rhodium) adds color depth and oxidation resistance.
- Assembly and gemstone setting integrate decorative components such as stones and chains.
- Protective coating seals the surface to maintain long-lasting brilliance.
This phase merges craftsmanship and artistry, determining the final visual and tactile quality of the piece.
Step 7: Quality Inspection
Finally, each electroformed jewelry piece undergoes thorough inspection to ensure durability and beauty. XRF analysischecks metal layer thickness, adhesion tests confirm bonding strength, and hardness/wear tests ensure resilience during daily wear. Visual inspections — both manual and optical — verify that no cracks, pores, or bubbles exist. Only after passing these tests does the jewelry proceed to packaging and shipment, completing its transformation from digital model to a shimmering metal masterpiece.