An Introduction to Diamond Setting in Jewelry Manufacturing
In modern jewelry manufacturing, diamond wax setting is much more than decoration — it’s where art meets precision engineering. Thanks to lost wax casting and wax 3D printer technology, jewelers today can achieve incredible accuracy, consistency, and efficiency in gemstone setting and metal casting. This article explores how different diamond casting / diamond setting methods work, how wax setting improves efficiency, and why casting wax materials play a key role in high-quality jewelry production.

The Essence of Diamond Wax Setting: Precision Meets Art
elegant connection between metal and gemstone.
From an engineering perspective, diamond setting / diamond casting is all about micron-level control and aesthetic balance:
-
Tight tolerances: The stone seat must be extremely precise — even a ±0.03 mm deviation can loosen or crack a gem.
-
Optimized light performance: Angles and depths affect how light travels and reflects inside the diamond, shaping its sparkle.
-
Balanced stress design: Prongs, bezels, and channels must hold the stone firmly without deforming the metal.
-
Harmony of structure and beauty: Every jewelry piece should combine technical strength with elegant proportions.
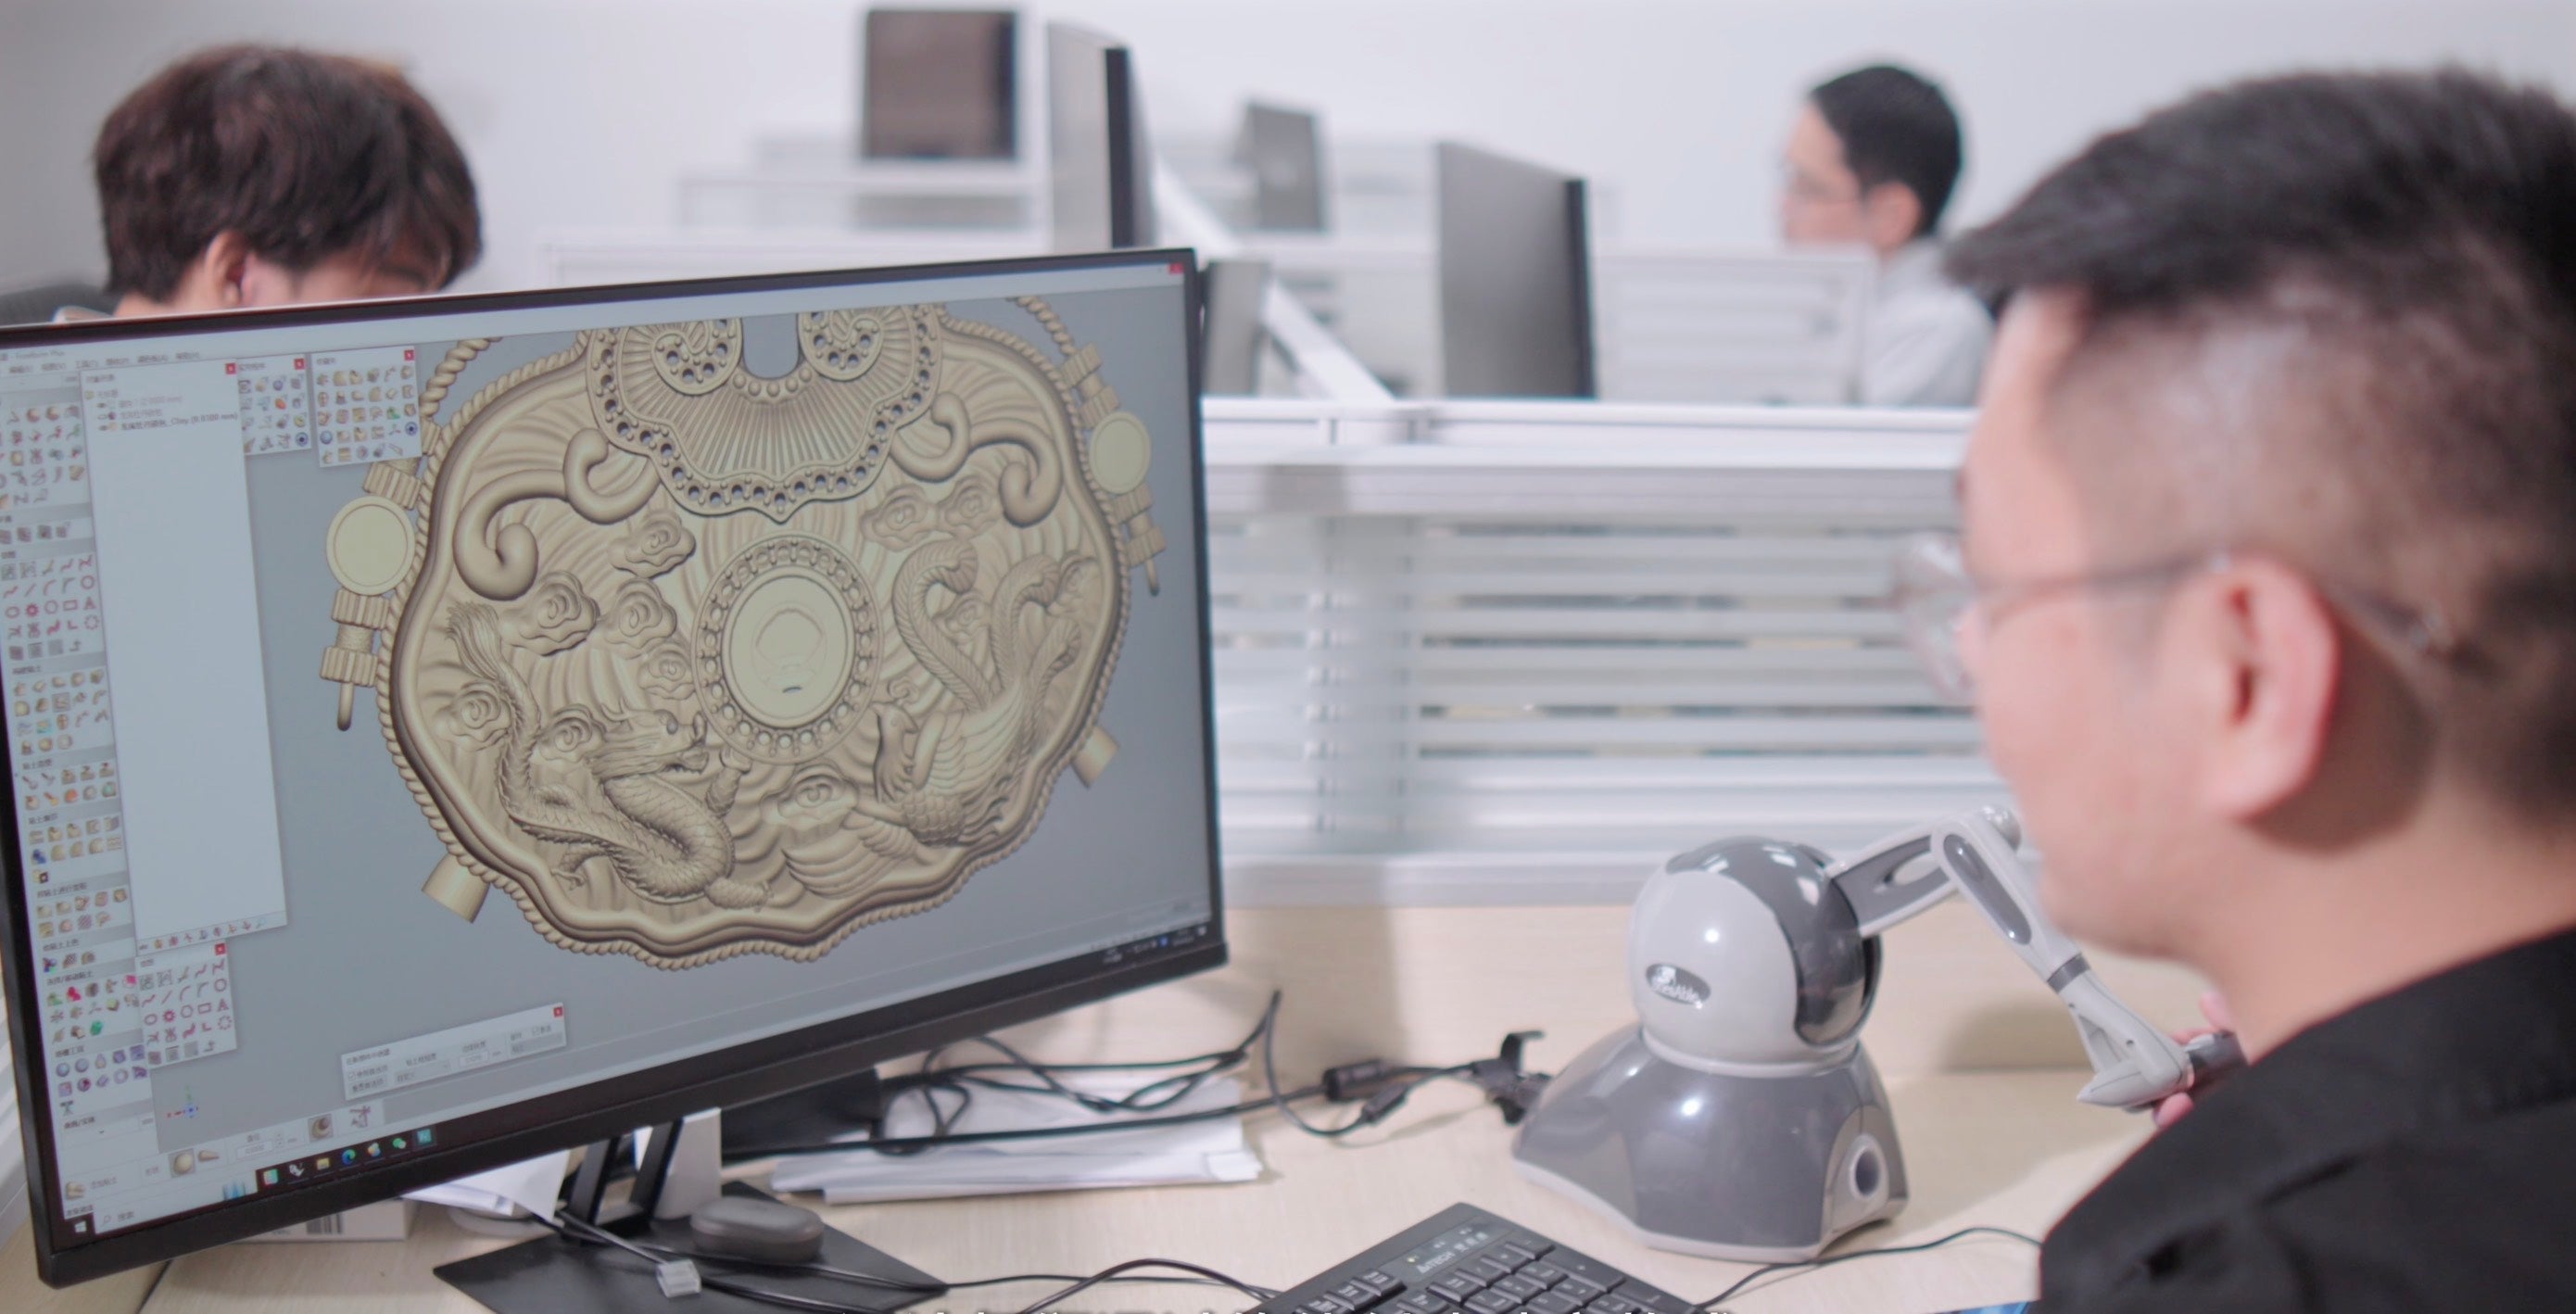
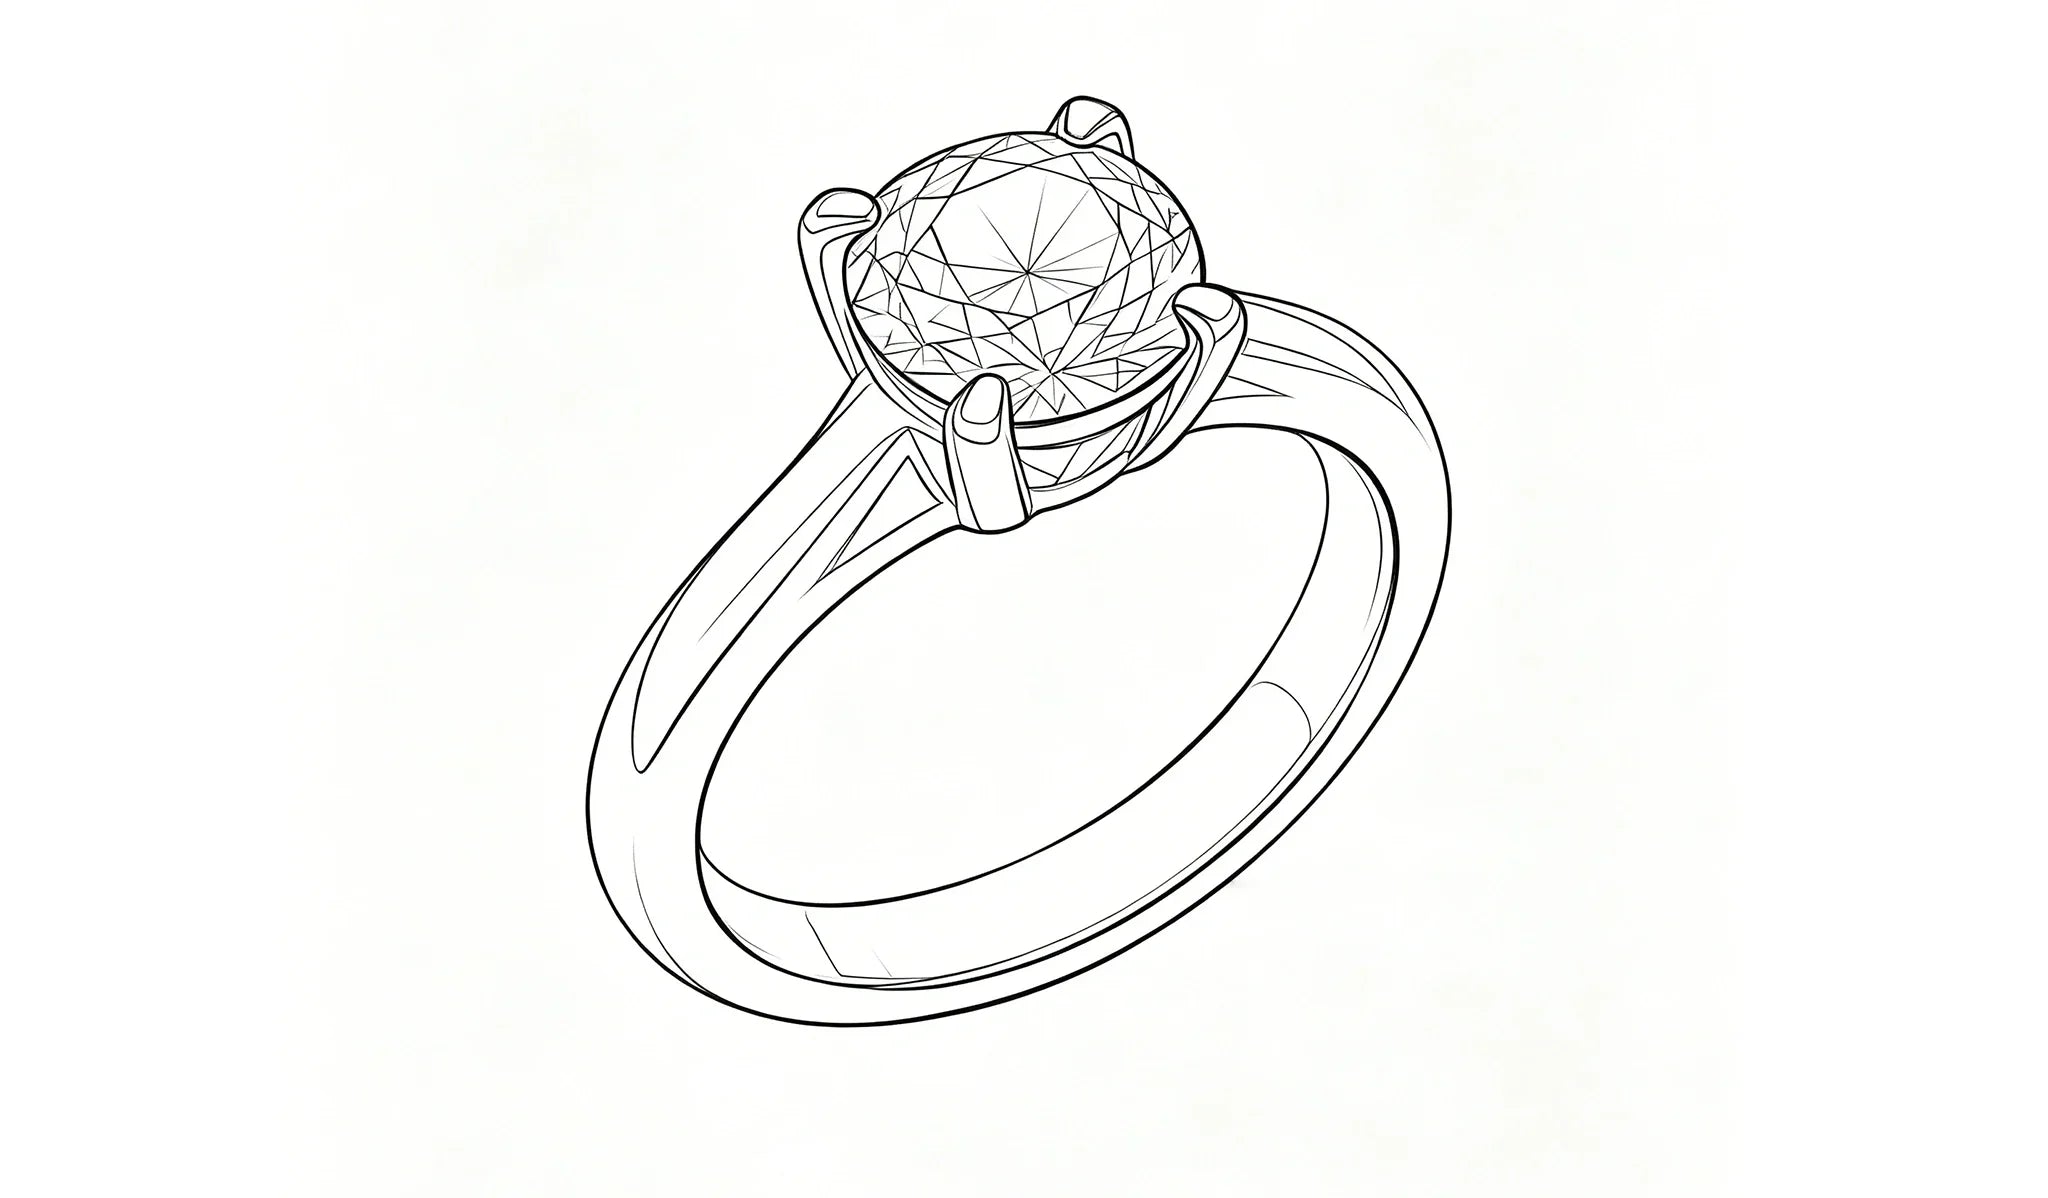
With CAD design software (such as Rhino, MatrixGold, and JewelCAD), designers now simulate structure, light, and metal flow before production. Using wax 3D printers to produce precision casting wax models, the entire workflow — from digital design to physical casting — has become faster, more reliable, and easier to scale.
Common Jewelry Setting Techniques
Each setting style brings its own aesthetic and technical logic. Here are the most popular ones in jewelry casting:
Prong Setting – Classic Brilliance
Prongs grip the stone tightly while exposing it to maximum light.
-
Benefits: Best sparkle, lightweight design.
-
Applications: Engagement rings, earrings, pendants.
-
Tip: Using 3D printed wax models ensures prong symmetry and casting consistency.
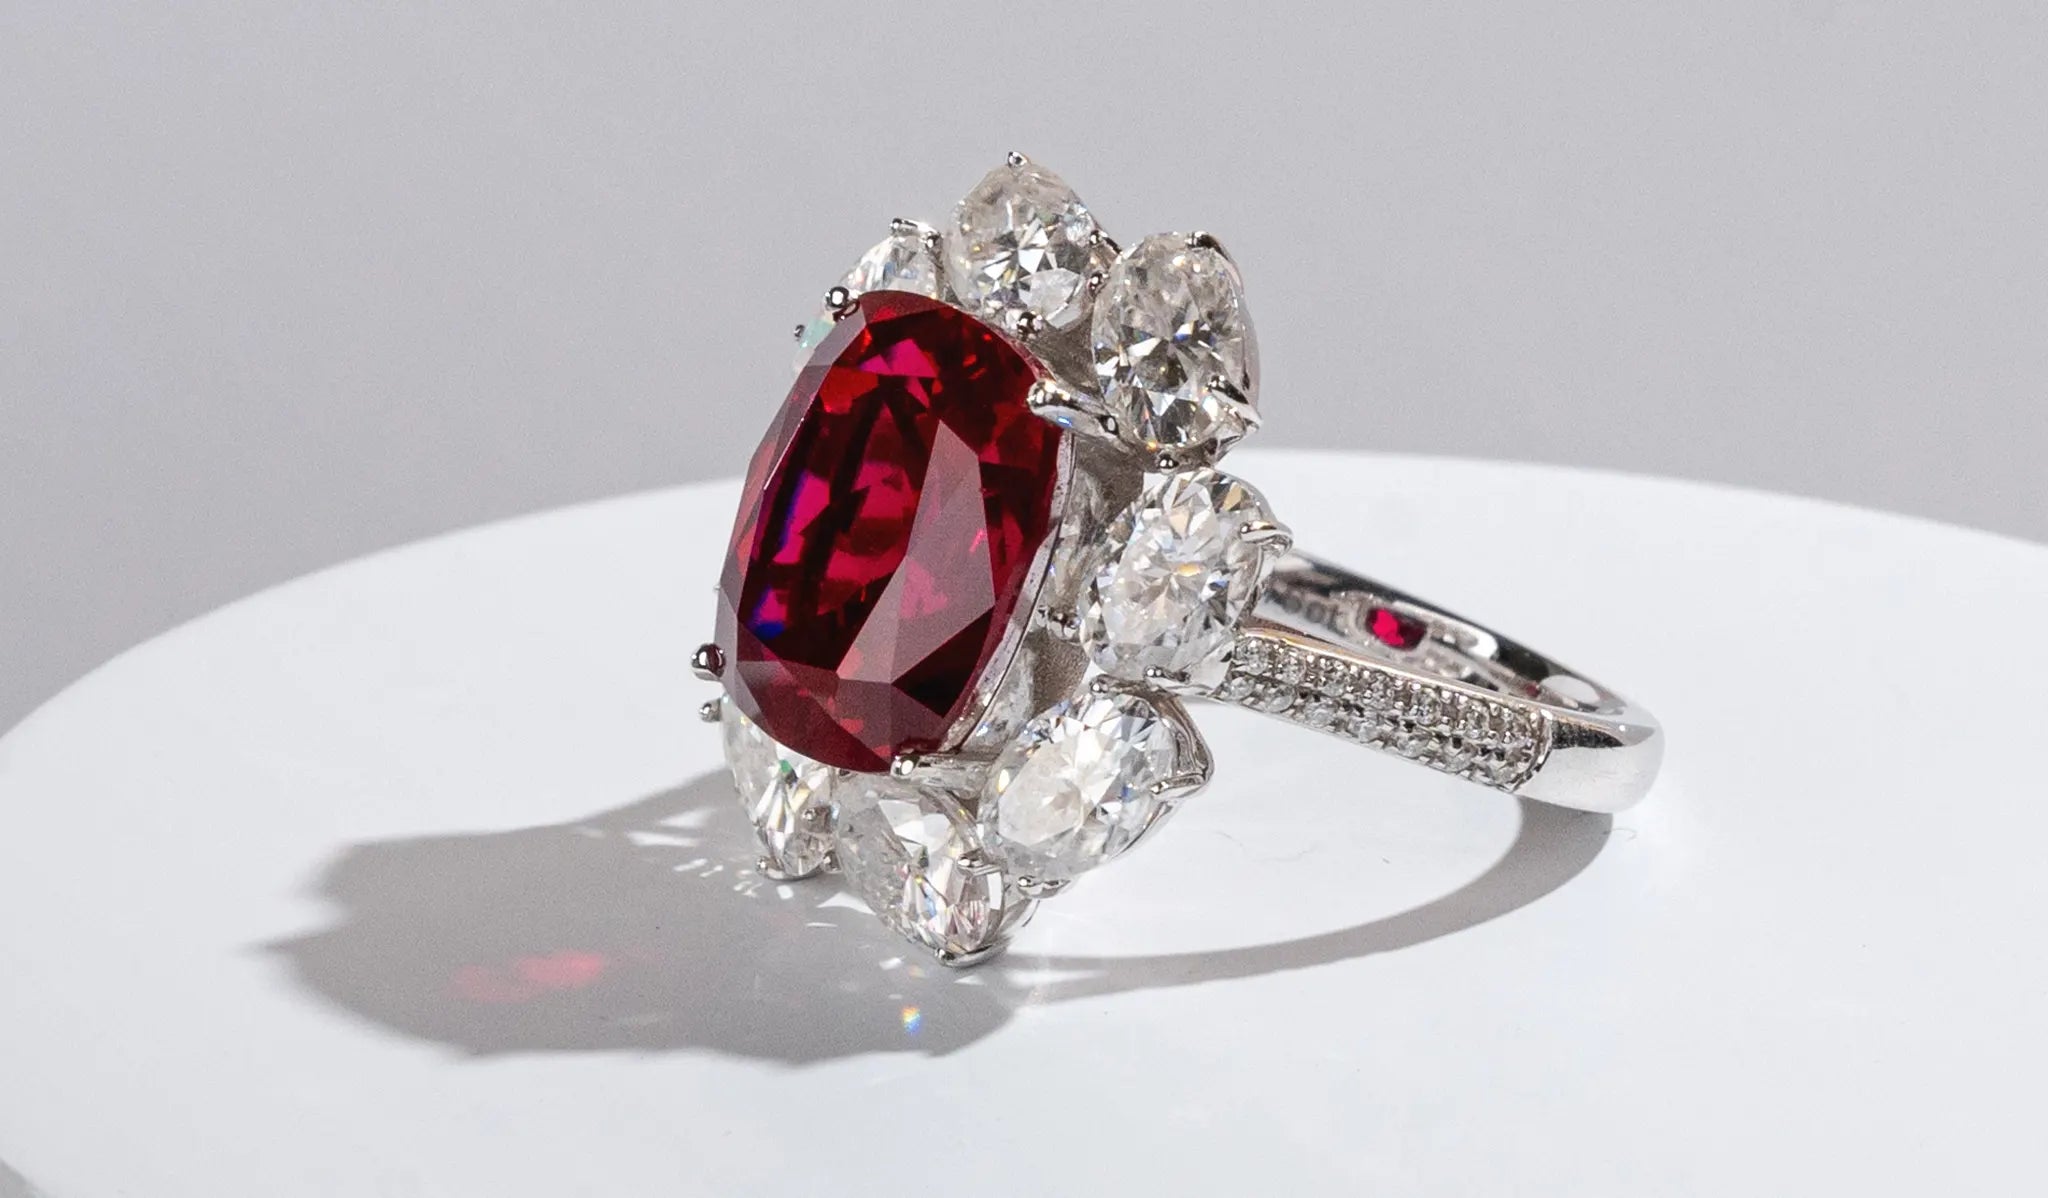
Bezel Setting – Secure and Modern
A metal rim fully surrounds the stone.
-
Benefits: Excellent protection and stability.
-
Best for: Watches, daily wear jewelry.
-
Pro tip: Low-shrinkage casting wax materials maintain bezel sharpness and prevent deformation after lost wax casting.
Channel Setting – Sleek and Streamlined
Diamonds sit between two parallel walls of metal.
-
Benefits: Smooth, modern appearance with strong structural integrity.
-
Use cases: Wedding bands, bracelets. Wax 3D printing ensures perfect alignment between each groove and gemstone.
Pavé Setting – All-Over Sparkle
Dozens of micro-diamonds are set close together.
-
Benefits: Luxurious shine and texture.
-
Challenge: Tiny holes require ±0.02 mm accuracy. 3D printed casting wax models make this precision possible.
Invisible Setting – Seamless Beauty
Gems are mounted without visible metal, creating a smooth, radiant surface.
-
Benefits: Modern elegance, no metal gaps.
-
Challenge: Only achievable through digital CAD modeling and high-resolution wax 3D printers.
Wax Setting: The Future of Lost Wax Casting
Wax setting is revolutionizing jewelry manufacturing by moving the gemstone setting process into the wax modeling stage. Instead of setting stones after casting, gemstones are fixed directly into the casting wax model, then cast together during the lost wax casting process.
Why Jewelers Choose Wax Setting
-
Less manual work: Gemstones are already in place before casting — no need for hand-setting afterward.
-
Higher precision: Wax is softer and easier to shape, enabling accurate gemstone placement within ±0.03 mm.
-
Consistent results: One CAD design can produce hundreds of identical wax trees via 3D printing.
-
Lower labor costs: Less dependence on skilled stone setters — perfect for scalable production.
This technique blends traditional craftsmanship with data-driven manufacturing, improving both precision and repeatability in jewelry casting.

From Wax Model to Finished Jewelry: Step-by-Step
Here’s a simplified look at the complete lost wax casting process using wax setting.
Step 1: Gemstone Setting in Wax
High-resolution wax 3D printers like Flashforge WaxJet Series print smooth and detailed wax models. Craftsmen carefully insert gemstones into pre-designed seats. The wax must have strong toughness and low shrinkage to avoid deformation — qualities found in Flashforge Red Wax.
Step 2: Building the Wax Tree
Multiple wax models are connected by wax rods to form a wax tree. This allows many pieces to be cast at once, improving yield and efficiency.

Step 3: Investment and Burnout
The wax tree is placed in a casting flask and covered with investment plaster. After hardening, it’s heated to melt out the wax — the classic “lost wax” step — leaving a perfect hollow mold.

Step 4: Metal Casting
Molten gold, silver, or platinum is poured into the mold using vacuum or centrifugal force.
When cooled, the mold is broken, revealing the metal version of the wax model — with gemstones securely fixed in place.

Step 5: Cleaning and Polishing
The cast piece is cleaned with an ultrasonic cleaner, polished, and finished to bring out full brilliance.
The result: a flawless piece of jewelry that matches the CAD model exactly.