Why Precision Matters in 3D Wax Printing for Jewelry?
Simply brief the workflow of 3d wax printing in jewelry making
Digital 3d Wax Printing for Jewelry Workflow:
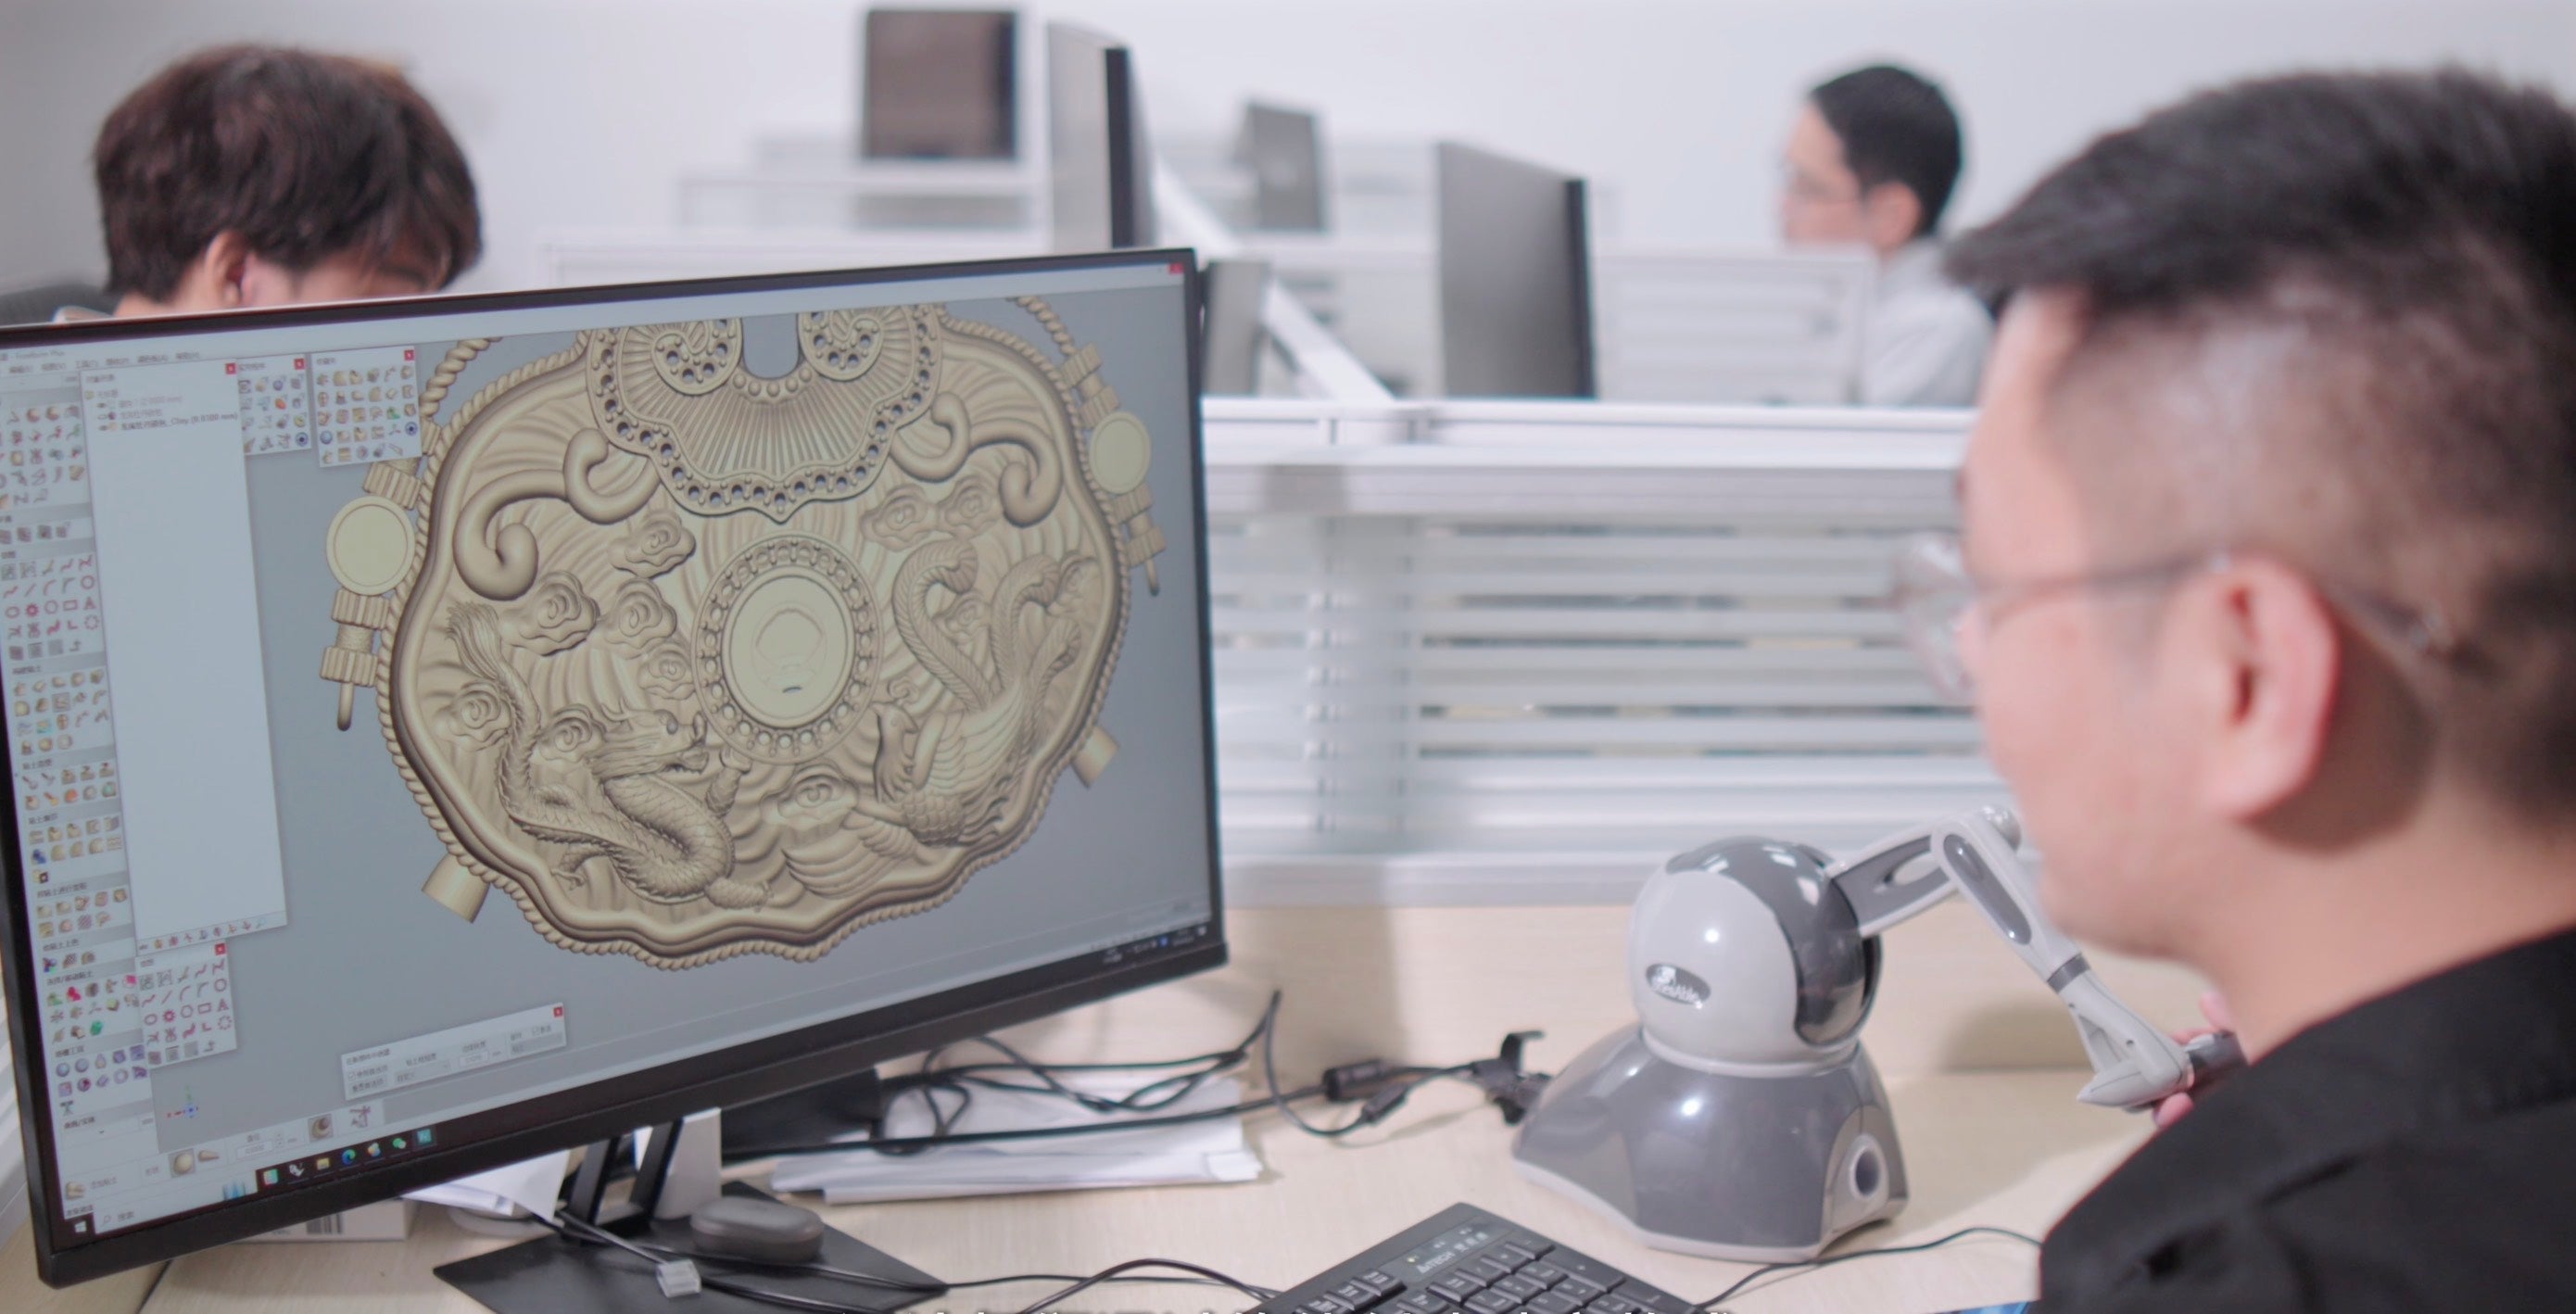
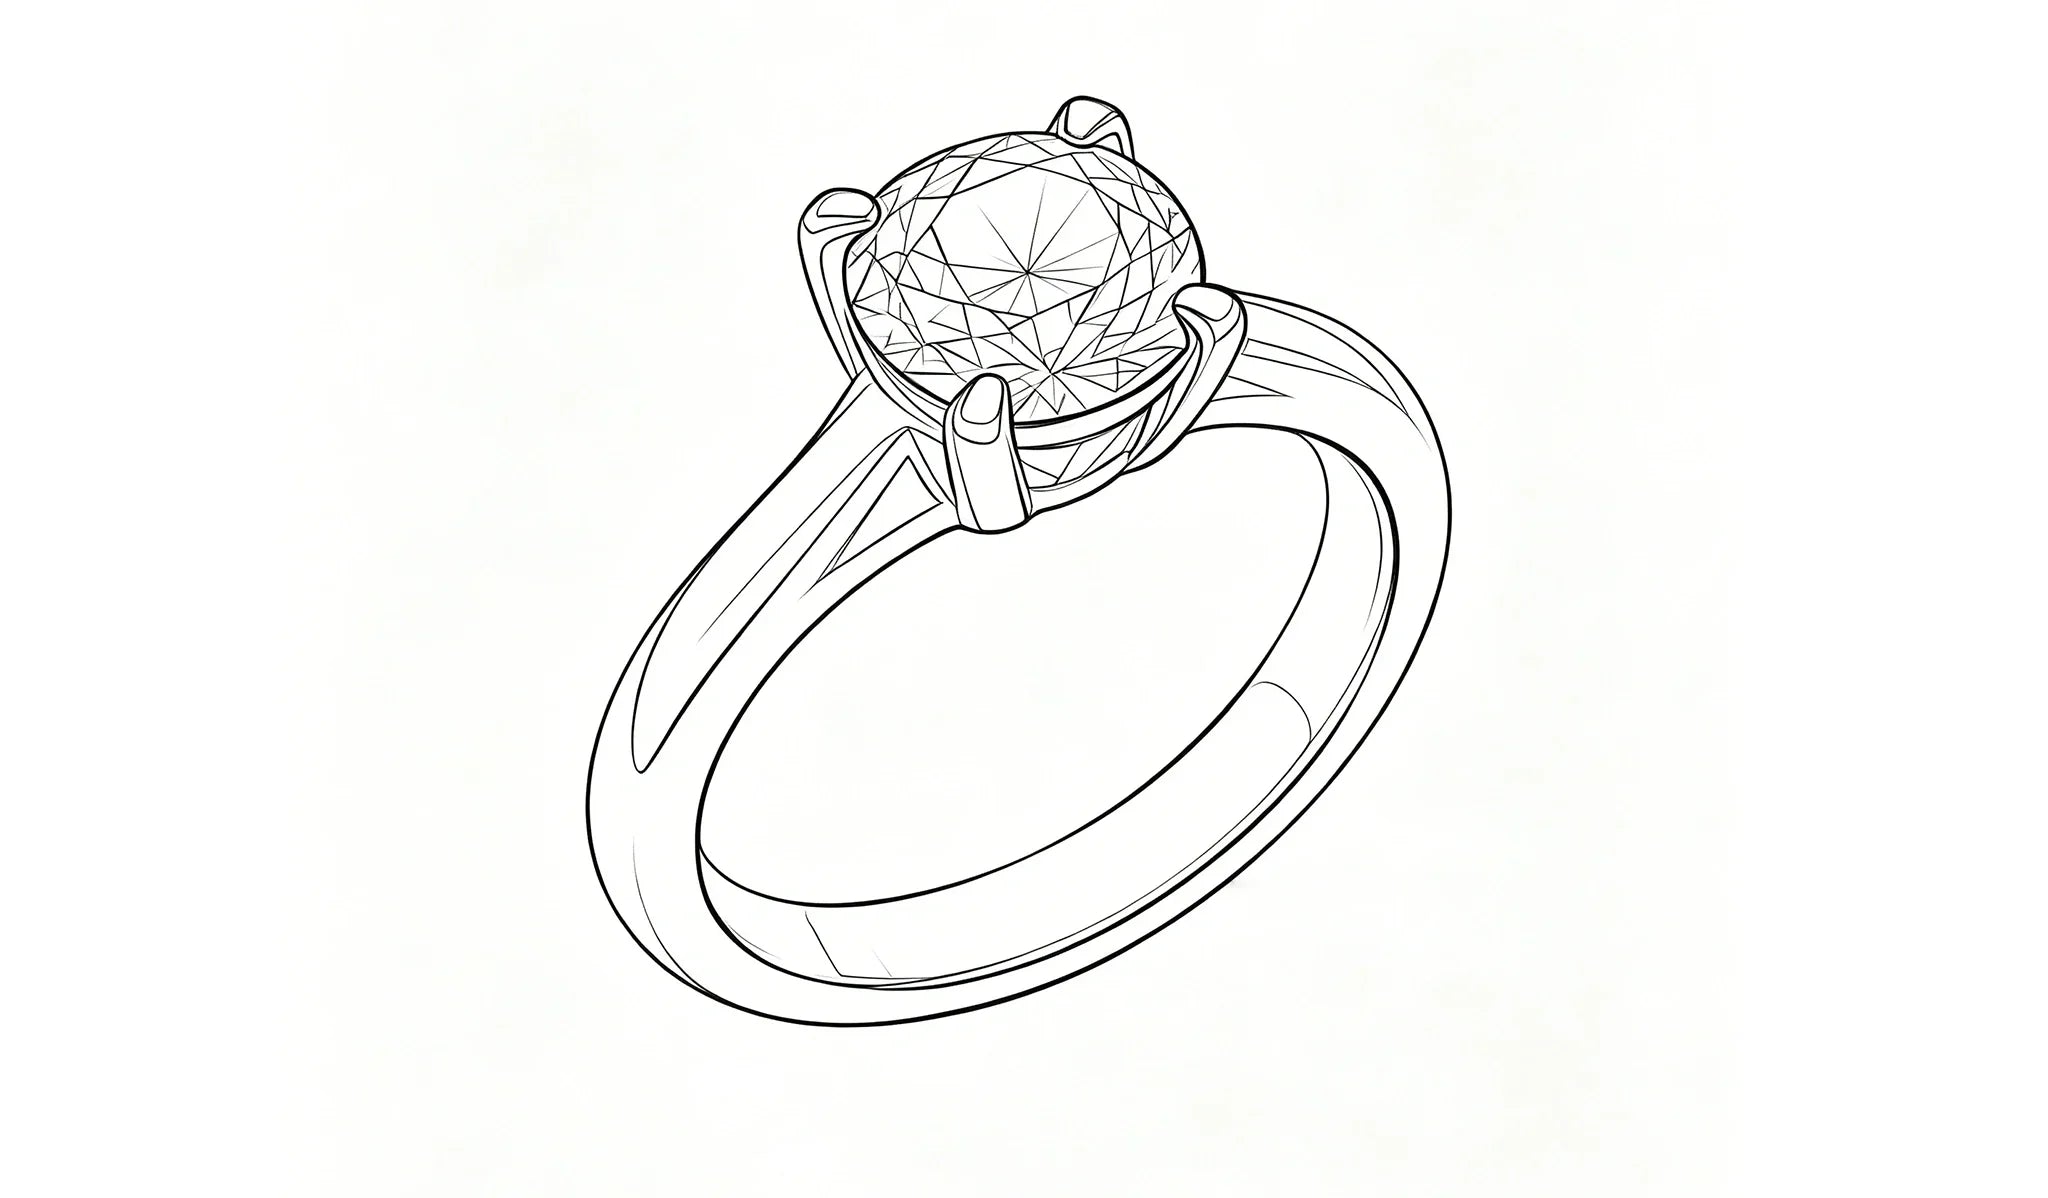
Step 1: Design the 3D jewelry mold

Step 2: Prepare the File and Start Printing

Step 3: Dissolve the Supports

Step 4: Build the Wax Tree

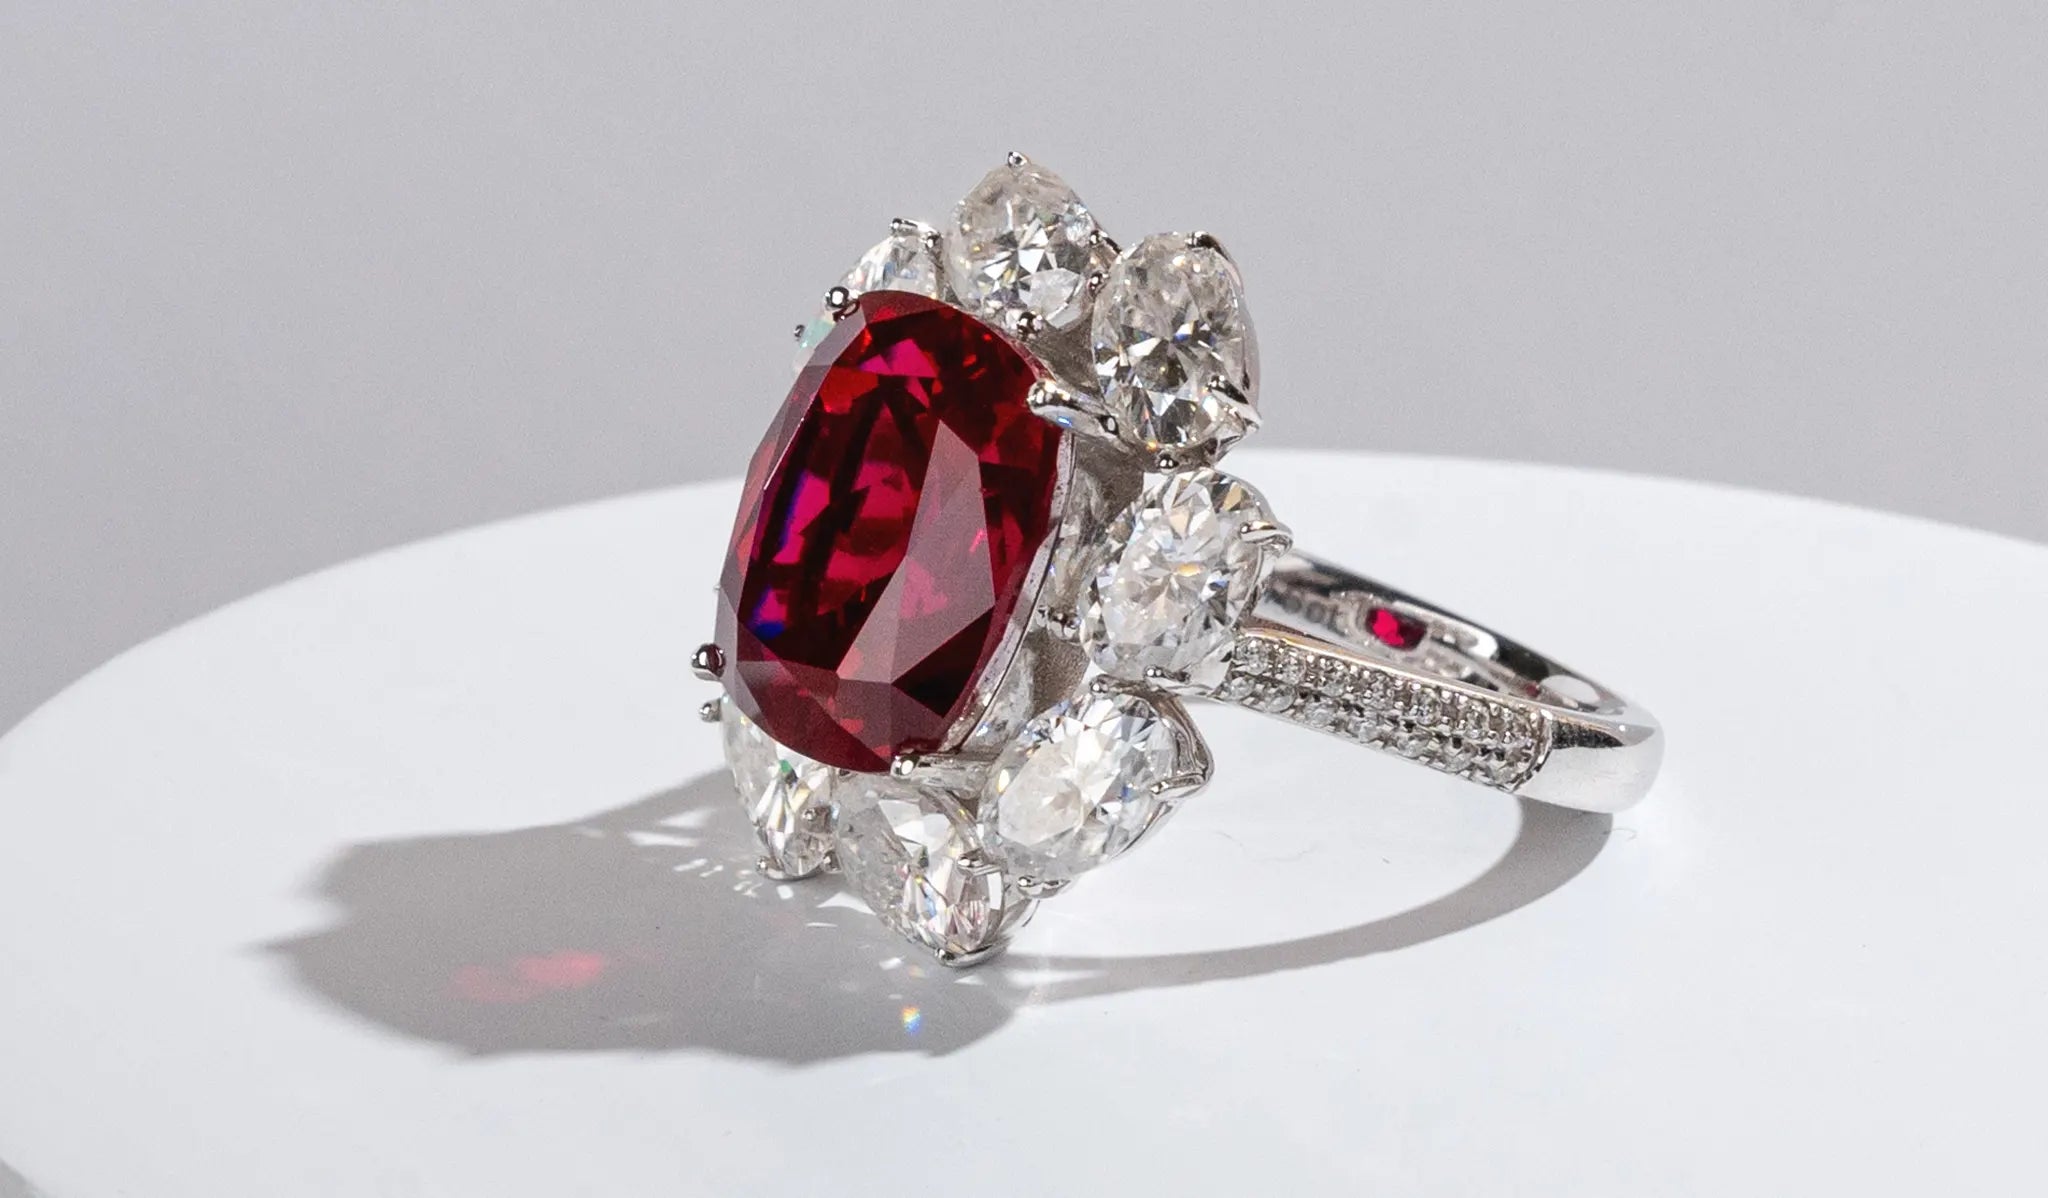
Step 5: Lost-Wax Casting
Step 6: Melt and Cast Gold
The next stage is to put the gold (or other valuable metals) in an extremely high furnace until it melts. Then, pour the melted metal into the wax tree mould. This procedure fills the moulds with liquid metal, which painstakingly mimics all the small features of the wax models and makes the final pieces of jewellery.

Step 7: Post-Processing

3D Printing Has Significantly Improved Manufacturing Efficiency
The Importance of High Precision for Complex Jewelry Models
In jewelry design, precision is everything. Complex structures such as openwork patterns, filigree designs, and micro-carvings demand extremely fine accuracy. Even the slightest deviation can lead to distorted shapes, missing details, or additional labor costs. Openwork and delicate details: Even a tiny mistake might make the finished pieces look wrong or leave out elements.
- Intricate details and openwork: A lot of jewellery models have frames that are either hollow or very thin. If you print these sections at a low resolution, they may get blurry or lose their shape. But when they are printed with a high level of precision, they are captured with micron-level accuracy.
- Surface quality: Low-precision instruments sometimes leave behind layer lines and rough surfaces that need to be polished a lot afterward. High-precision printing makes smooth surfaces, which means less work needs to be done by hand.
- Batch consistency: Every piece has to be the same for mass production. Low-precision printers could make tiny changes between batches, but high-precision printers always deliver the same stable results.
Because of this, 3D printers that are both highly quick and very accurate are the only ones that can meet the needs of current jewellery creation.

The WJ530 wax 3d Printer Delivers High Precision and Superior Surface Quality for Complex Jewelry
Low-precision 3D printers often feature layers that are 30 to 50 microns thick or more and a lower DPI density. This often makes it hard to see minor details, makes edges rough, and makes reproductions of fine jewellery designs that aren't as exact. Complex patterns may not hold together or need too much work once they are made to meet quality standards.
The Flashforge WJ530 3D printer for wax will be examined. The next stage of creating digital jewellery tools is this model. It is incredibly dependable for producing a large number of items, works with advanced wax materials, and has an extremely high printing resolution.
Ultra-high precision
With a printing resolution of 2900 × 2900 × 1700 DPI and a layer thickness as fine as 15 microns, the WJ530 can reproduce the smallest design features in CAD models. From sharp edges in stone settings to the smooth curvature of organic designs, every element is captured faithfully. Filigree structures or delicate lines can get messed up or blurry when you use a printer with lower precision. The WJ530, on the other hand, makes sure that even the most complicated micro-carvings and openwork patterns are printed clearly. This makes the design more accurate and minimises the risk of making a mistake during the lost-wax process.
Advantages of red wax material
The WJ530 works with Flashforge's proprietary red wax mix. People know that this wax is tougher, harder, and more stable at high temperatures. This keeps thin or fragile pieces together while they are being printed, handled, and prepared for investment casting. Unlike weak waxes that might break when stressed, red wax keeps its size and shape while keeping the details accurate. The WJ530 additionally features a support material made of white dissolvable wax. When the temperature is low (about 43°C), solvents like ethanol or PPG400 break it down completely. You don't have to do as much finishing by hand with this two-wax approach because it makes surfaces smooth and clean.
Capability for complex and batch production
Because of its great versatility, the WJ530 can be used to produce hundreds of identical wax models in bulk or to create one-of-a-kind designs for custom jewellers. Because of its sturdy printing platform and large print capacity, it may be used in demanding industrial settings. Lattice-like structures, hollow interiors, and high-density wax trees can all be repeatedly printed. This reduces the likelihood of failure and improves overall performance. This implies that items can be produced more quickly, with less labour, and with a higher output each casting cycle in terms of mass manufacturing.